Image

How to Change Crankshaft Bearings by Dean Pappas As seen in "If It Flies ..." in the February 2010 issue of Model Aviation
Image
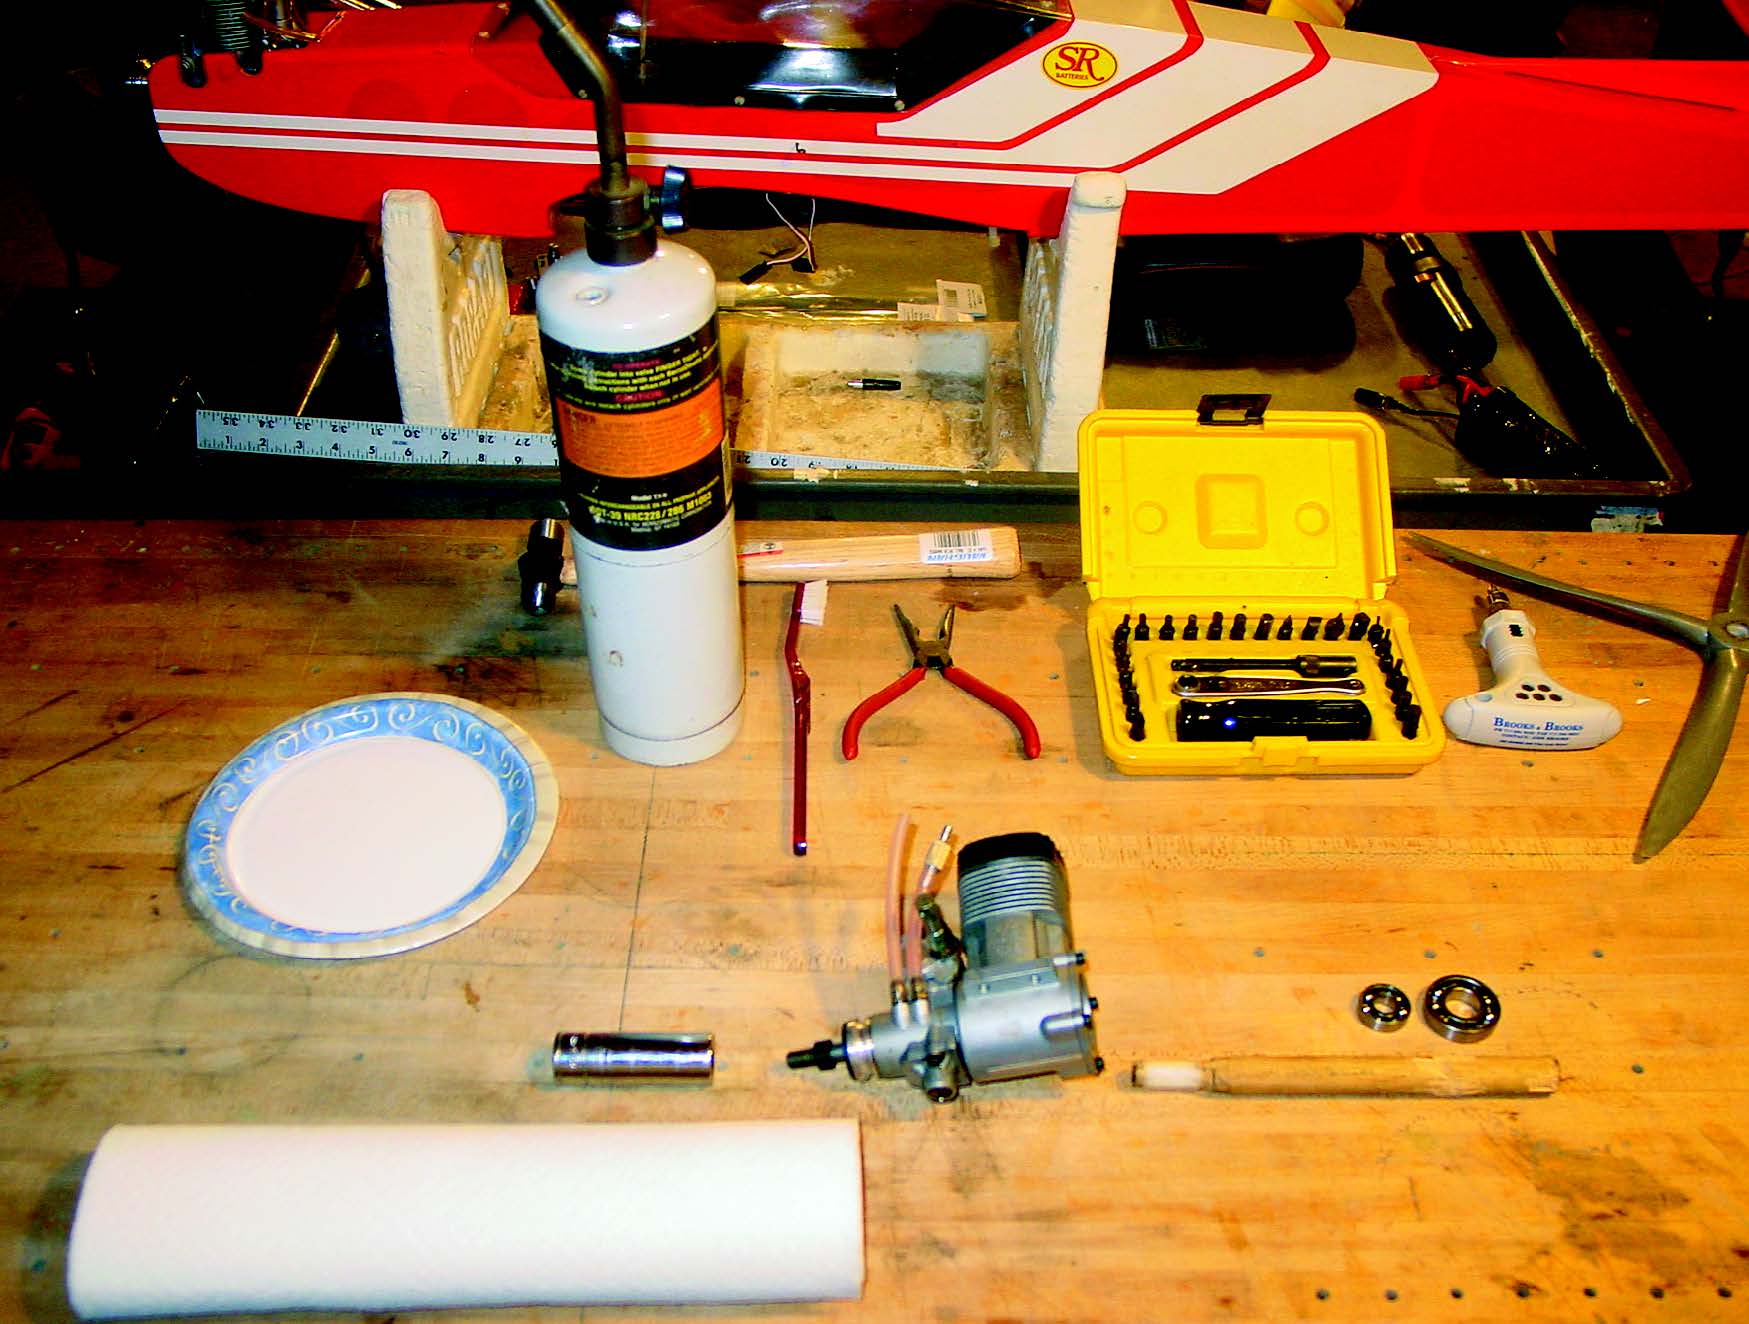
Bearing maintenance requires standard shop tools and homemade and make-do types. Add bowls or paper plates to keep parts safe and handy, alcohol, an old toothbrush, and paper towels for cleaning parts, and you’re ready.
Last time we got together, I described what happened after the well-worn, and somewhat corroded, crankshaft bearing let go in the YS61 engine that powered my Tiger 60. It’s a dandy airplane, and I love to shoot tankfuls of touch-and-gos with it. When a few bits of rust flaked off of the bearing and scratched the piston and cylinder liner, the first thing that went away was—no, not the horsepower—the reliable idle. A loss of idle reliability is often the first sign that something is wrong with an engine. The rebuild will require new crankshaft bearings to go along with the new piston/liner I obtained from YS Parts and Service. Let’s do a how-to about changing crankshaft bearings. If you are smart (as I wasn’t), you’ll heed the warning signs that the crankshaft bearings are in the beginning stages of failure and replace them before they damage other, more expensive engine parts. Those signs are: 1. A rumbly or gravelly feel and sound as you turn the propeller back and forth. 2. A turbinelike whine. 3. A loss of idle reliability (which happens for several reasons). 4. Visible rust when you remove the crankcase backplate. The rear bearing typically fails first, although it is good practice to replace both of them at the same time. The front bearing rarely rusts like the rear one does, as a result of being exposed to fuel. I prefer to replace the OEM (original equipment manufacturer) rear bearings with stainless steel, because corrosion is the biggest enemy. To begin, disassemble the engine. Take care to remove all gaskets, O-rings, and plastic parts from the crankcase, because the process of bearing removal involves heat that can destroy them. At this point, I prefer to clean the entire engine using denatured alcohol. Not only is it helpful when taking apart the power plant, but the heat used in the bearing-removal process will bake any crud onto the engine’s innards, and that can complicate the reassembly. Removing the piston and connecting rod from most engines requires that the cylinder liner be lifted up out of the crankcase after the cylinder head is removed. With the piston at Top Dead Center, there is room to slide the connecting rod aft and slide it off of the crankpin.Image

Sometimes it takes persuasion to remove the crankshaft from both bearings. Protect threads with the prop nut, and smack the front of the crank into a table edge or hit it with a large block of wood.
Image

After removing the head and cylinder, you should be able to disengage the connecting rod from the crankpin. This requires rotating the crankshaft to top dead center and that fore and aft play in the upper connecting rod be used to help get the rod off the crank.
Image

With the crankcase held firmly in vise-grip pliers’ jaws, warm the front of the crankcase with a propane torch for close to a minute. Then tap the case against the tabletop so the rear bearing falls out. Immediately turn the case over and push the front bearing out with the dowel while the aluminum is still hot.
There is usually wiggling involved, and gummed-up oil and rust under the piston can make this difficult. Four-strokes require a bit of extra care and attention because of the camshaft. Take note of any timing marks on the camshaft with the power plant at Top Dead Center. If in doubt, consult the instructions that came with the engine or the Internet! It’s time to remove the bearings. You need special tools. Make one from a piece of 1/2- inch-diameter wooden dowel, similar to the one in the pictures. Taper it so that it fits snugly into the central passage on the crankshaft, like a lollipop. Remove the crankshaft from the engine. If it requires a bit of persuasion, remove the drive washer and collet or keyway, and put the prop nut back on the shaft so it protects the last thread.Image

Now you can see the rust on the front surface of the rear bearing. It trashed the piston and liner. As soon as you hear or feel the signs of a bad bearing, stop running the engine and save the expense of a top-end overhaul.
Image

The dowel and crankshaft lollipop with rear bearing pressed onto it and the deep socket are ready for the next step: pressing the new bearings into the reheated crankcase. Heat the case with the torch for the same length of time as for the removal, and move quickly.
Gently smack the engine head-on into the edge of your wooden building tabletop (no hammers, please!) and be prepared to catch the crank. Next, make sure that the back end of that wooden dowel is the right size for pushing the front bearing out of the crankcase later. Now we are ready. With the engine thoroughly cleaned, grab it with a pair of vise-grip pliers by the mounting lug. Light your propane torch and gently warm the bottom of the case, all around, for roughly one minute. Hold the case nose-up and never park the flame on one spot, because a lot of heat should not be necessary. Sometimes the rear bearing will fall out on its own, but a sharp rap against the tabletop, or wooden cutting block, will do the trick. Quickly (before the aluminum cools) push the front bearing out with the dowel and let everything cool completely before touching it! Some of us prefer to use the oven for heating the crankcase, but care must be taken not to set it higher than 300°. Temperatures near 350° can distort the case and ruin it. Place the engine nose-up on an old cookie sheet and listen for the “tink” as the rear bearing drops. Reclean the crankcase with alcohol and an old toothbrush, paying special attention to the bearing seats. Assemble the lollipop as shown, with the rear bearing firmly in place against the crank disk. Have the front bearing ready, as well as the deep socket wrench that you will use to press the front bearing into place.Image

Moving quickly from the last step, grab the entire assembly and thump it gently but firmly onto the table so that the bearings are firmly pressed against their seats. You can even tap the top of the socket with a block of wood to be sure. Hammers are unacceptable!
Warm the case with the torch, taking care to warm the front end as much as the rest and, moving quickly, push the lollipop home and place the front bearing onto the shaft. Push the whole mess together using the socket against the outer race of the front bearing. Your goal is to get both fully seated. Replace the drive washer and any washers or keys associated with it, and tighten a propeller onto the engine so it is snug but not tight. The power plant might start to bind as it cools; do not panic. Turn a hammer the wrong way around; using the wooden part, “ring” the crankcase like a bell. The bearings will move a tiny fraction of a thousandth of an inch and all will free up. Retighten the propeller and repeat until the engine is cool, the propeller is tight, and everything rotates freely.Image


Comments