
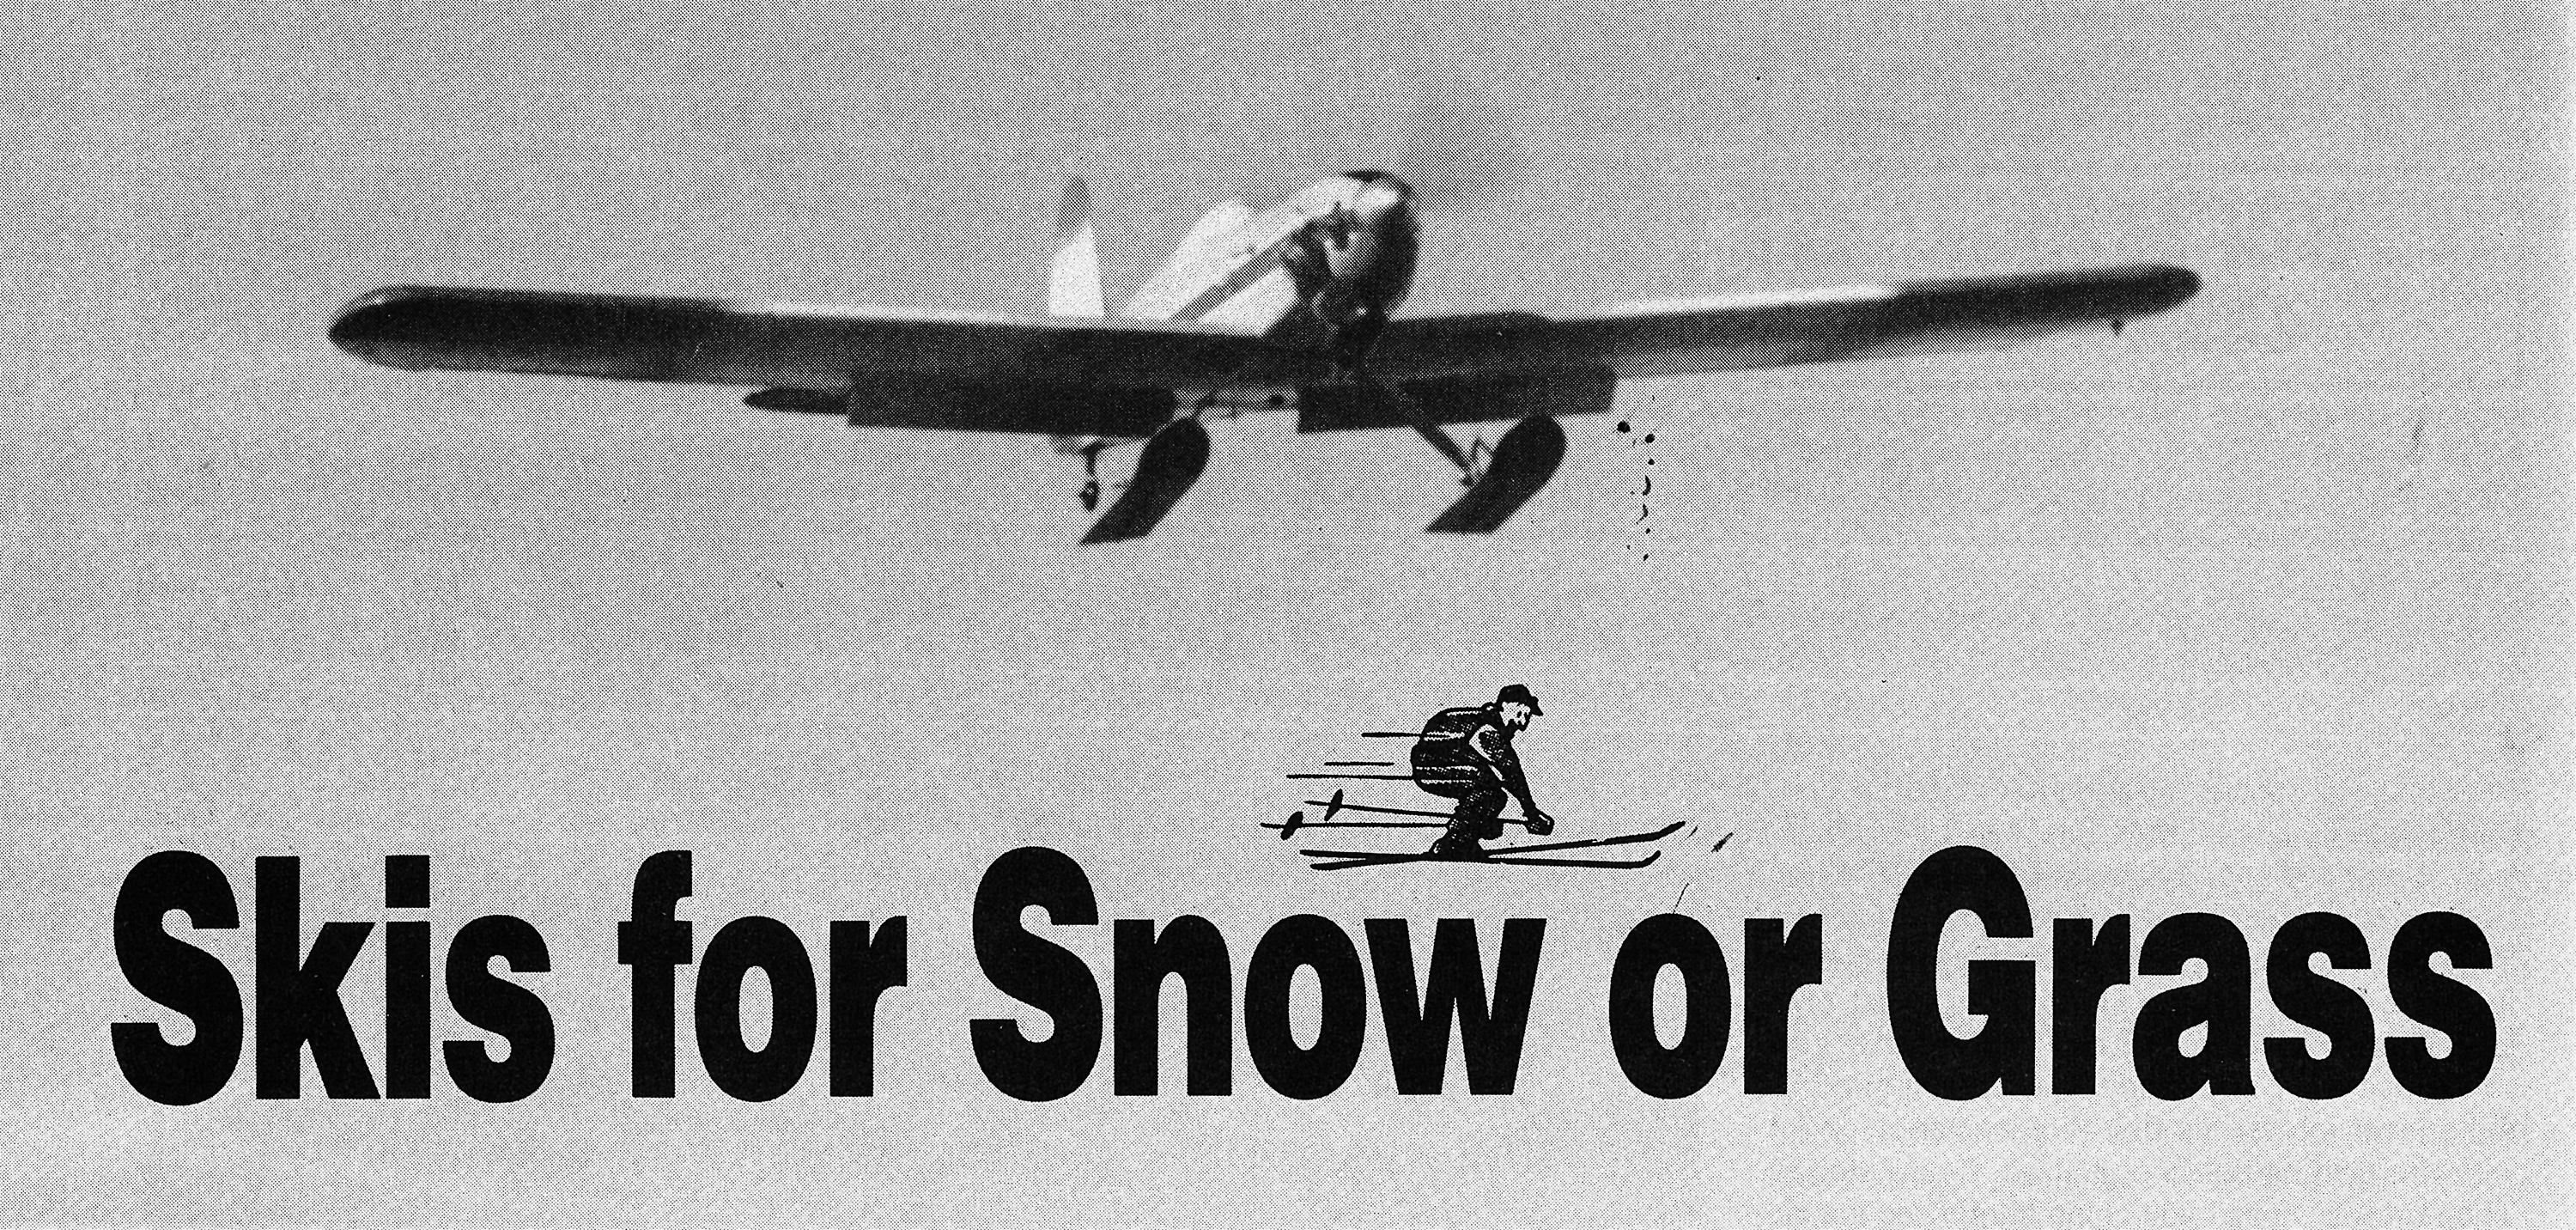
If you’ve wondered how to keep flying with snow on the ground, here’s your answer
By Graham H. Hicks | Photos by Ed Barton
From the February 1989 issue of Model Aviation.
They’re easy and fast to make, and they'll add very little weight to your airplane. Since skis impart a degree of stability to your model that wheels do not, you may find as I did that they reduce the ground looping tendency on takeoff and landing. These plywood skis are lighter than any of the metal ones I have seen. They also use a "knee action" positioning system that is closer to full-scale than the torque rod system.
This article describes procedures for making one ski. Double all parts if you are making a main gear set only. If you are making one for the nose gear, length and width measurements will have to be modified. (Suggested full-size templates for all parts are included as a PDF download at the end of this article.)
Construction
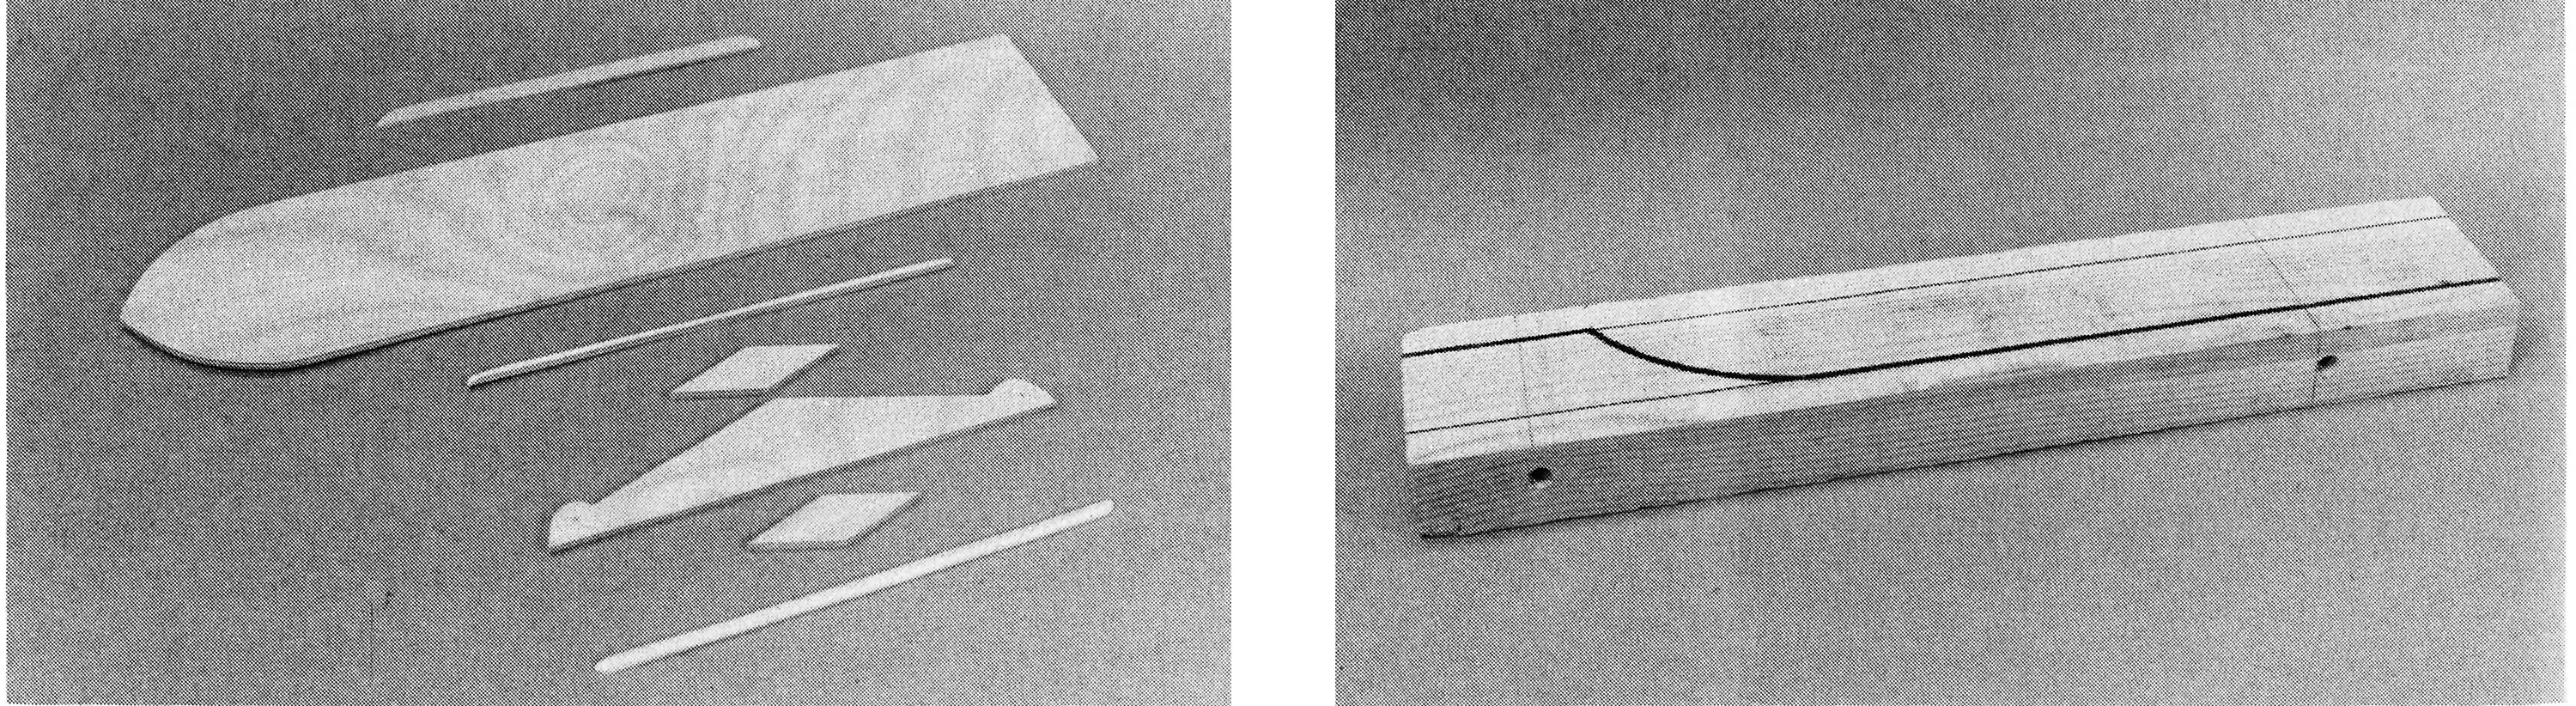
Cut your ski blank, as shown in the photo, from a sheet of 1/8-inchthick birch model aircraft plywood (not Lite Ply or door covering). If making a main gear ski for a .40-to .60-size ship, an appropriate size would be on the order of 2-½ inches wide x 12 inches long. Round or point the nose to your liking, but do not round the sides or edges. Straight sides and sharp edges give the ski its good tracking properties.
Make a mold press from a piece of 2 x 4 approximately 18 inches long. Draw two parallel lines on it, extending lengthwise 3/4 inch from the top and bottom edges. Trace a 4-inch radius arc from the lower horizontal line to the upper one, intersecting it about 3 inches from one end. Carefully cut along this line with a band saw, so that you separate the two pieces leaving a slightly exaggerated profile of your ski (see photo).
Temporarily insert a few small 1/8-inch scrap plywood spacers along the cut line to represent the thickness of the ski blank that will be inserted for shaping. Clamp the two pieces back together, and drill a 3/8-inch hole edge-to-edge about 1 inch forward of the tip of the radius arc at the front end. Measuring from the front end of the radius arc (or curve), drill another 3/8-inch hole exactly the length of your ski blank to the rear. The bolt that will go through this hole will act as a stop to prevent the blank from slipping rearward when you clamp it in the mole. Insert a 4-1/2-inch long, 5/16-inch diameter carriage bolt with washers on each end in each hole, and tighten with nuts. With the mold finished, you're ready to form your ski. (Note: The 3/8-inch hole for the 5/16-inch bolt is intentionally a sloppy fit, for reasons that will be clear later.)
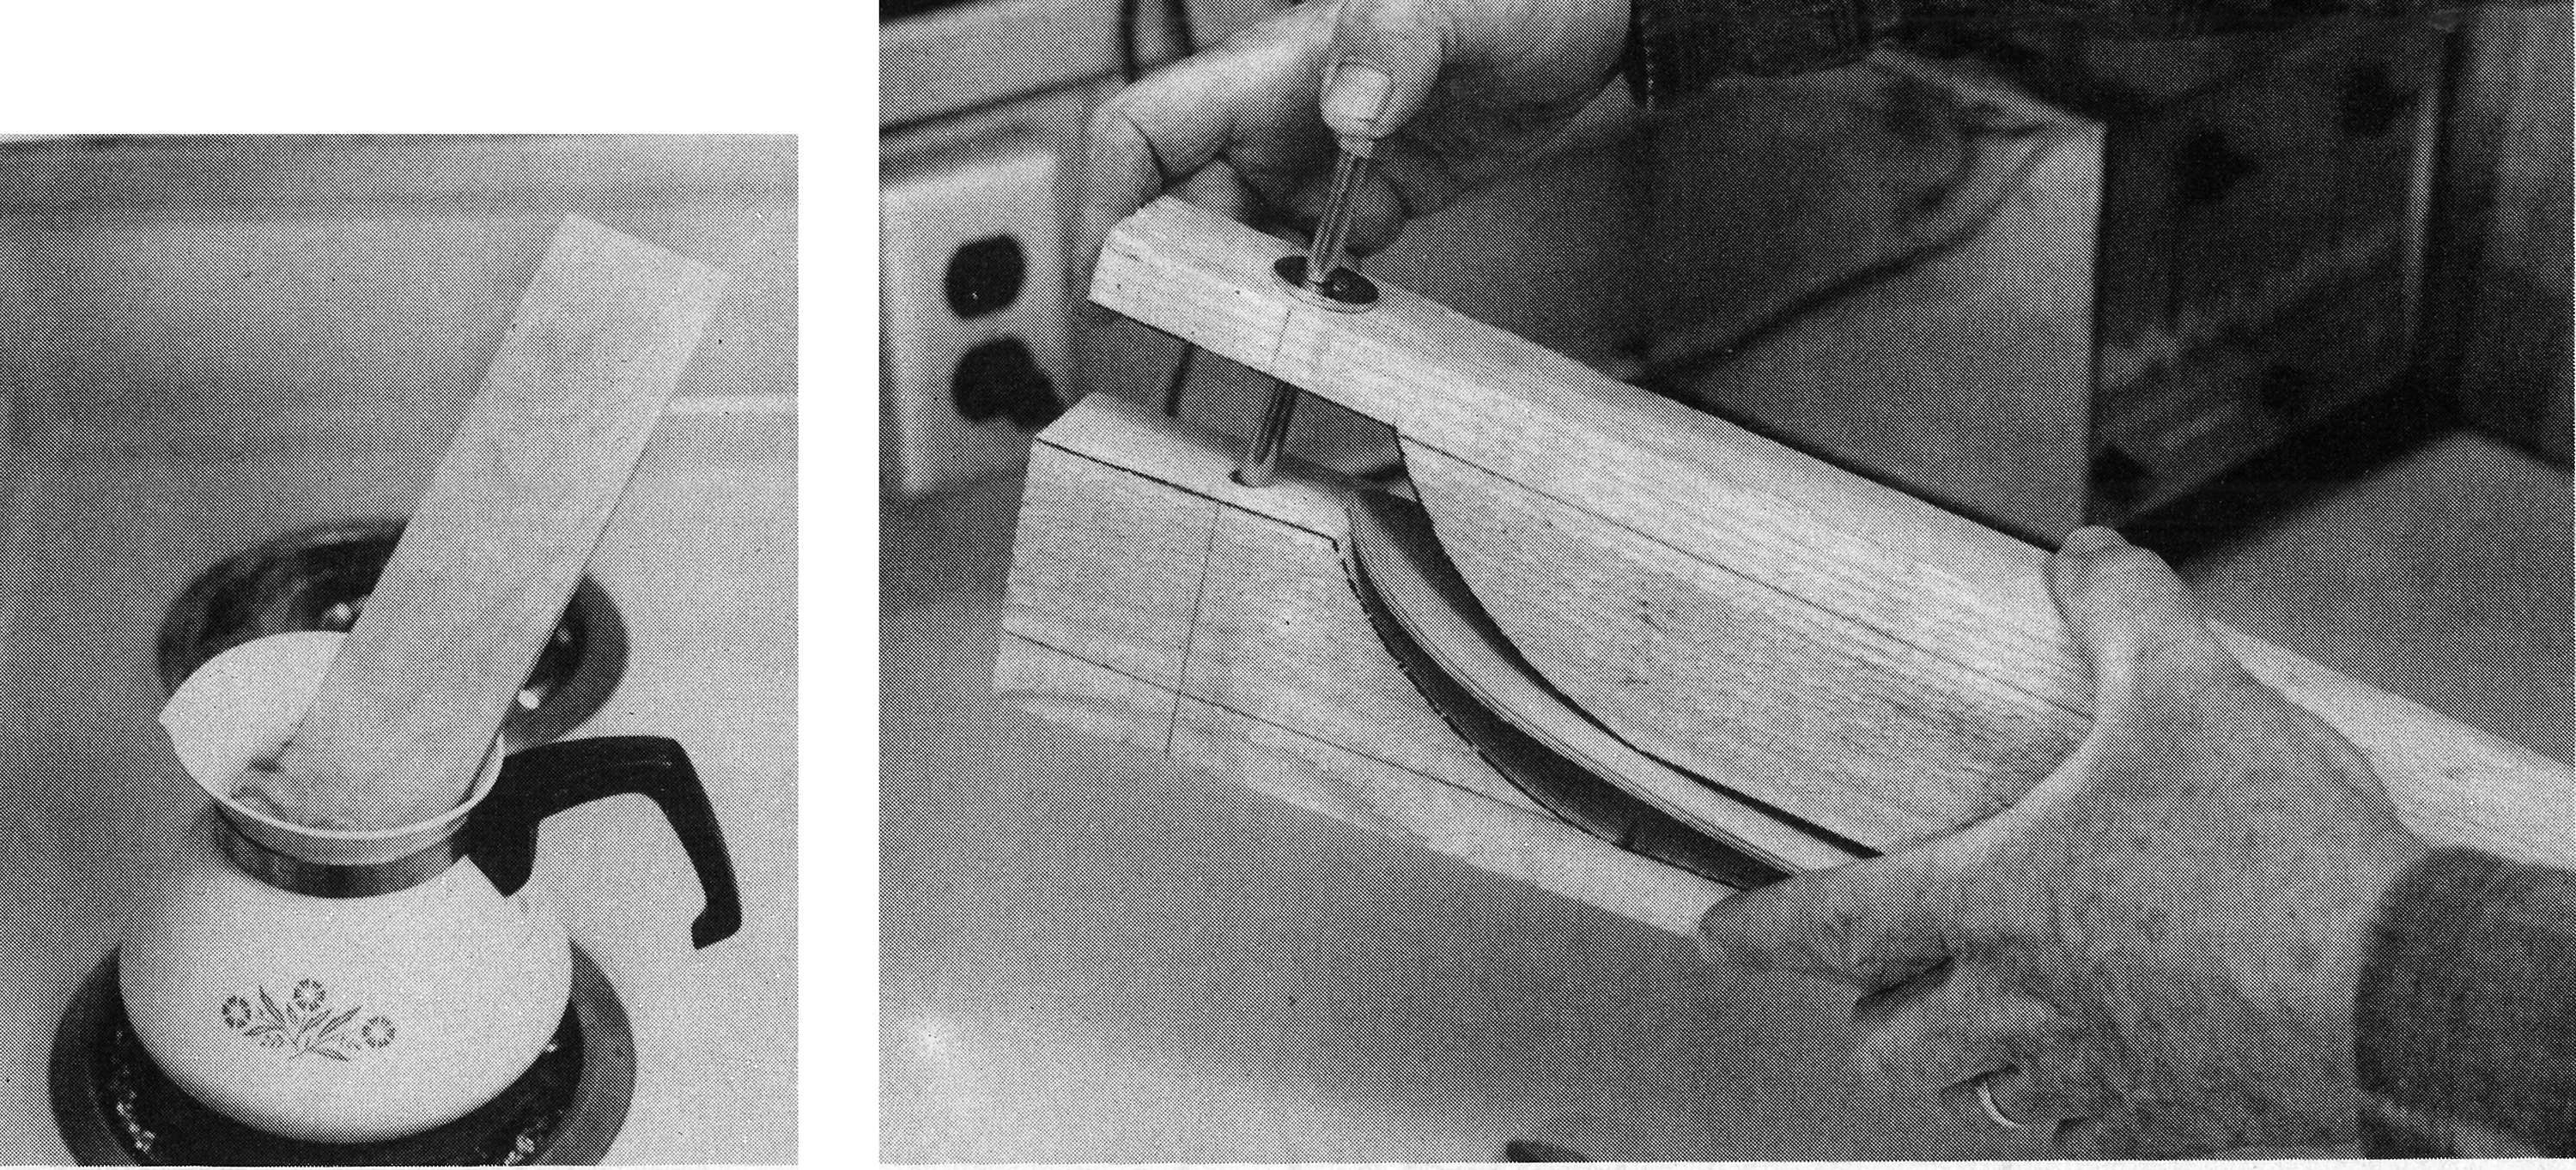
Bring a pan of water to a rapid boil on the kitchen stove, and thrust the front four inches of your ski blank into it for three minutes as shown in the photo. Have your mold ready, and, when the three minutes are up, immediately position the ski in the mold so that the rear of the ski just touches the rear bolt. Quickly tighten down both bolts so that the ski blank is forced into the curve of the mold (see photo). Remember that the ski will relax or· spring back a bit when you take it out of the mold, so a bit of overcurve or excess tension is necessary while it is in the mold. Allow to dry several hours in front of a fireplace or overnight in the shop.
Make your second ski exactly the same way, and preferably from the same piece of plywood. If you are making a set for a trike gear ship, shorten and narrow the dimensions for the nose gear ski. Seven inches long x an 1-1/2 inches wide works well for a .40-to .60-size airplane. Mold it using the method described above and the same mold. You can drill a second hole for the rear "stop" bolt if you like.
Cut the spine and doubler parts, again using 1/8-inch ply. Don't sand anything yet; your ski will look better if you sand it after all the parts are glued together.
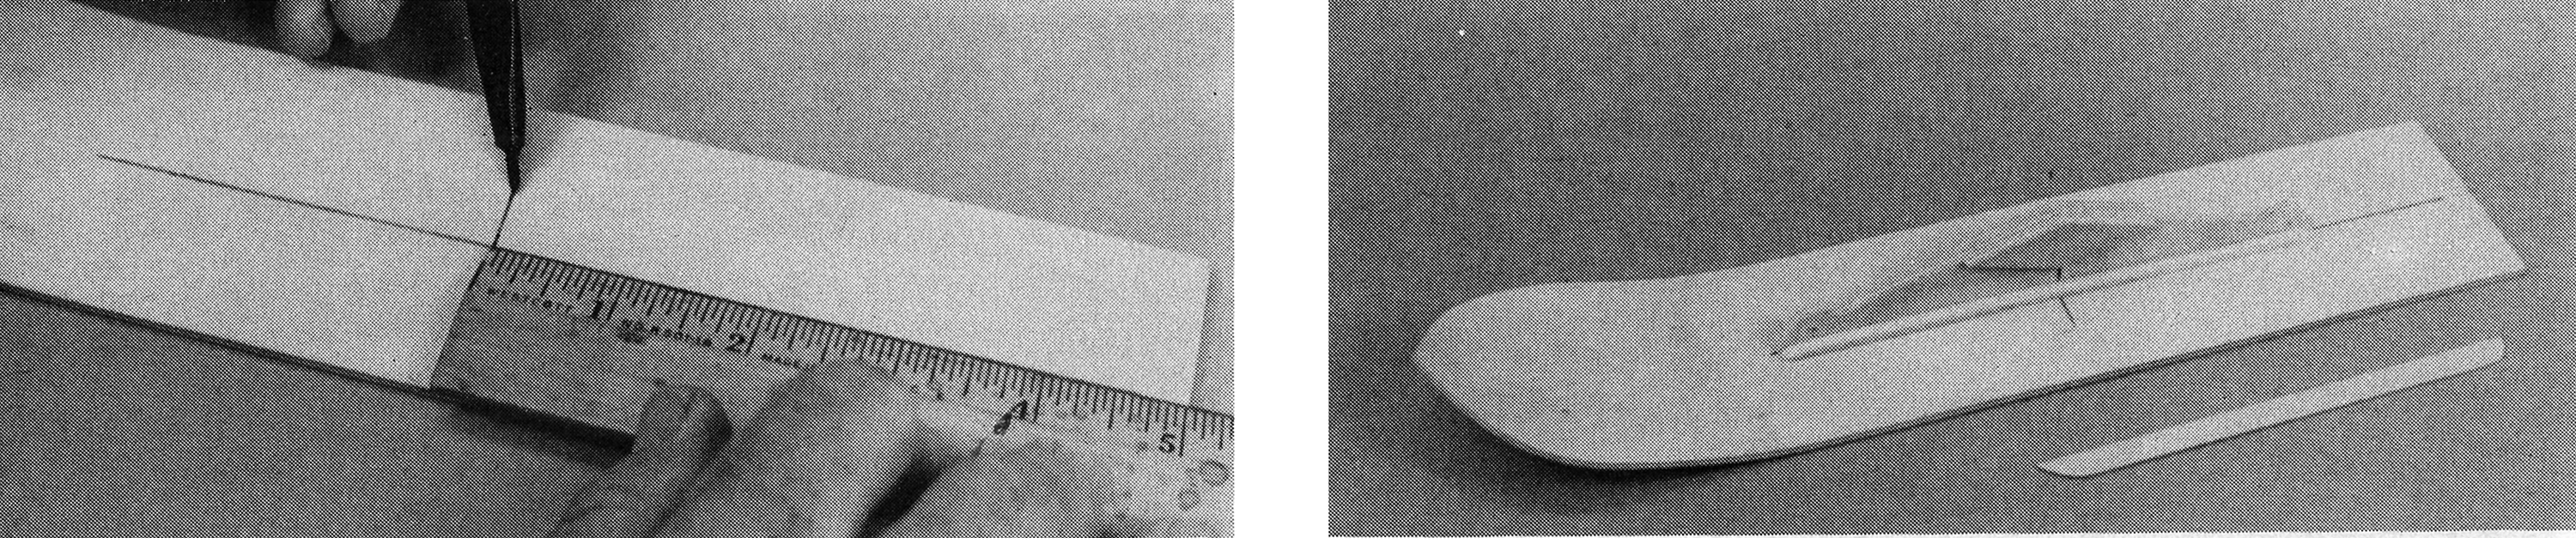
Mark the centerlines on the top and bottom of all three skis. On the main skis, put a mark 5 inches from the rear which will serve as the locator point for the axle shaft (see photo). To find this point on your nose gear ski, lay it on a flat surface such as your workbench or kitchen counter and view it from the side as if at ground level. Mark the point where the ski just begins to curve up and away from the surface; the axle point should be exactly halfway between this point and the rear edge of the ski.
Using slow-setting epoxy, carefully glue the spines and 1/8-inch square balsa or spruce gussets onto all three skis. Soft spruce is best, but hard balsa will work nearly as well. Do not omit the gussets; they add a great deal of strength to handle side loads. It may be necessary to sand a little curve into the bottom edge of the nose gear ski spine to make it match the ski profile. Be certain that as your epoxy sets, the axle locations remain exactly above their respective marks on the skis and the spines remain straight with respect to the centerlines. When dry, epoxy the diamondshaped doublers to the spines as shown. Round the front and rear ends of the keels with sandpaper, and epoxy them along the bottom centerlines of the skis (see photos).
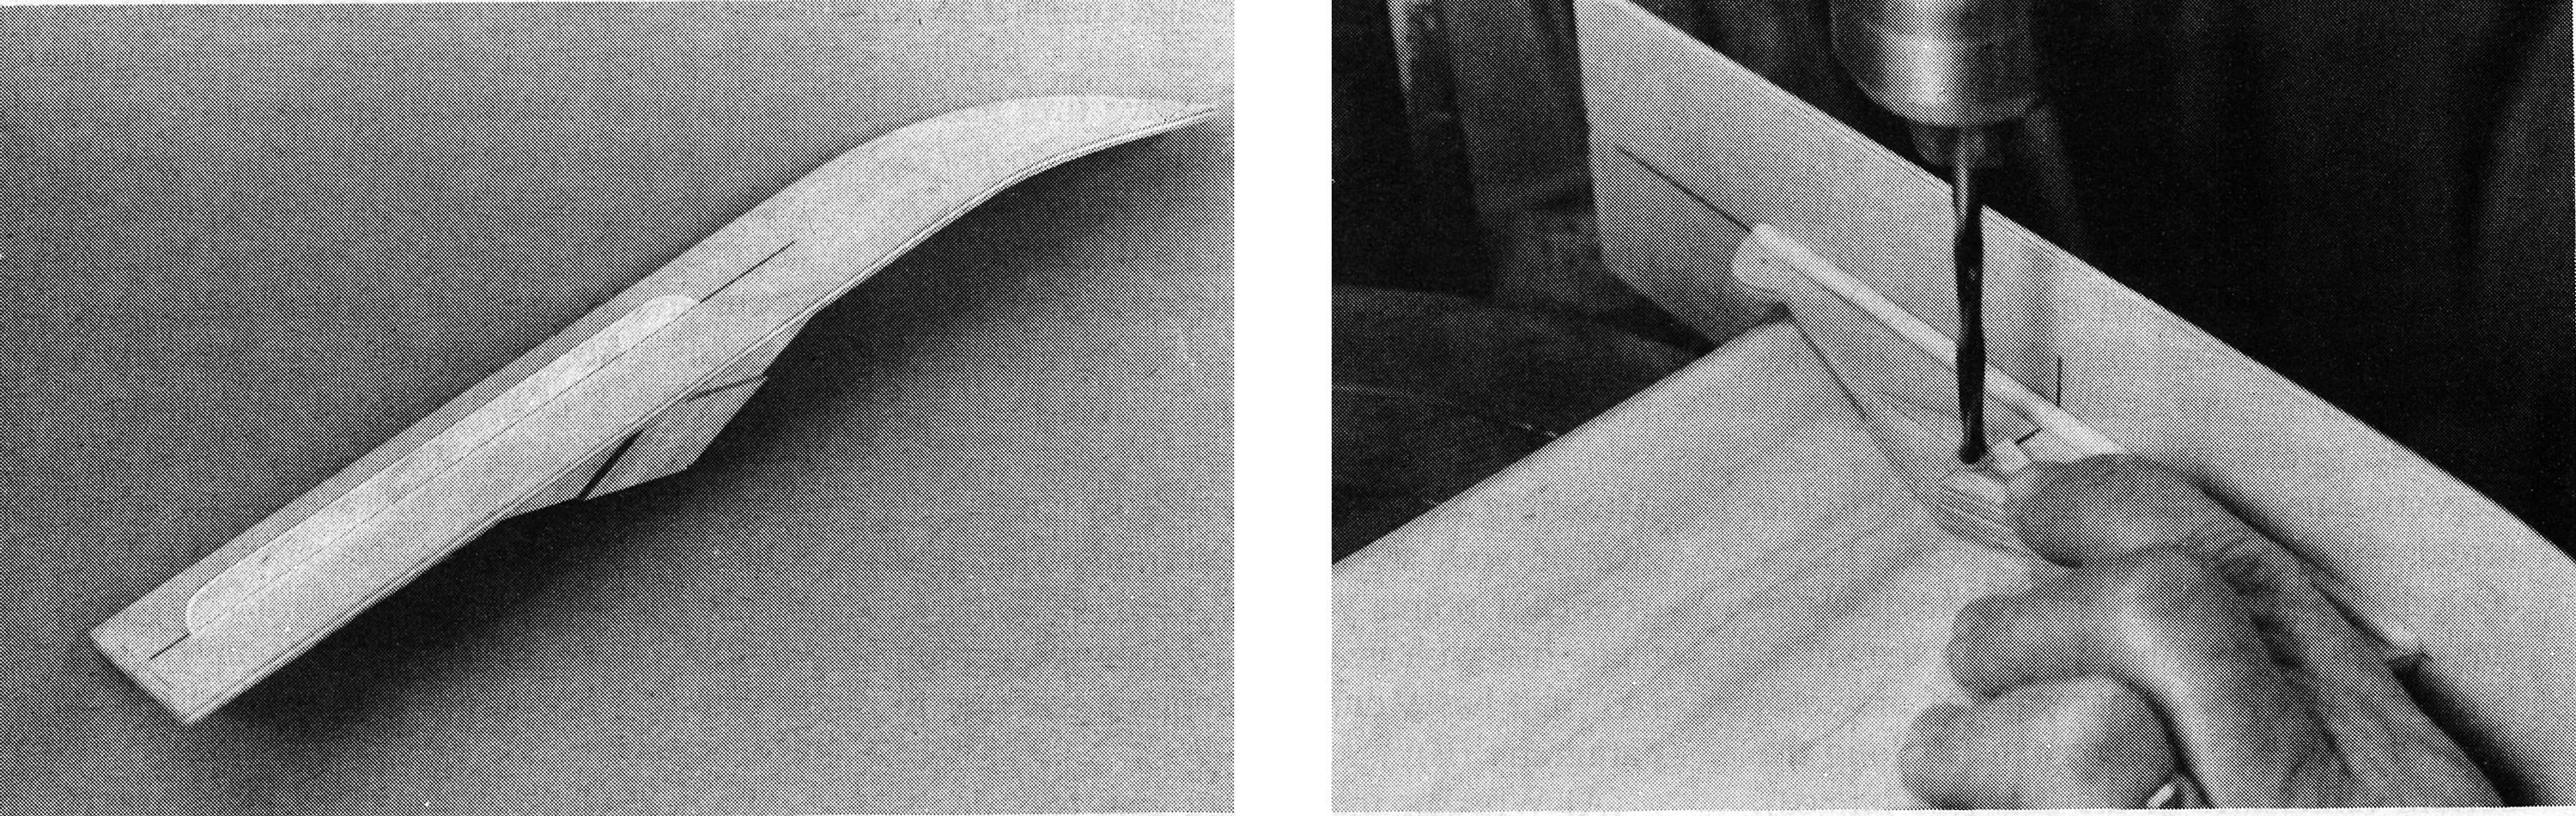
After determining the diameter of your axle shafts, use a drill press to drill a hole 1/16 inch larger than that figure through the exact center of the doublers on each ski. Make sure that this hole is as square as possible in relation to the ski (see photo). Cut a 3/8-inch long piece of brass tubing with an outside diameter the same size as the drill, and gently tap or press it into the hole to form a bushing (see photo). Drill a 1/16 hole in each end of the spine as shown, and you're ready to sand and finish the ski.
Sand only enough to remove fuzz and splinters; don't overdo it. Again, do not round the bottom edges of your skis—as in full-size skis, the sharper they are, the better they track in the snow. However, a neatly rounded edge on the spine and doublers will make a nicer looking ski.
Attaching the Skis
The type of landing gear on your ship will determine what kind of anchor points you will need. If your plane has wire gear legs, follow paragraph (A); if it has a dural aluminum gear, go to paragraph (B):
(A) Whether the landing gear legs on your airplane emerge from the wing or the fuselage, this step is basically the same. Bend a small hook of about 1/4-inch diameter in one end of a piece of 3/32-inch music wire. The easiest way to do this is to anneal it first by heating it to cherry-red in a propane torch flame and letting it cool slowly. Using one of the wire bending gadgets available will also help. Remove the wheel from one gear leg.
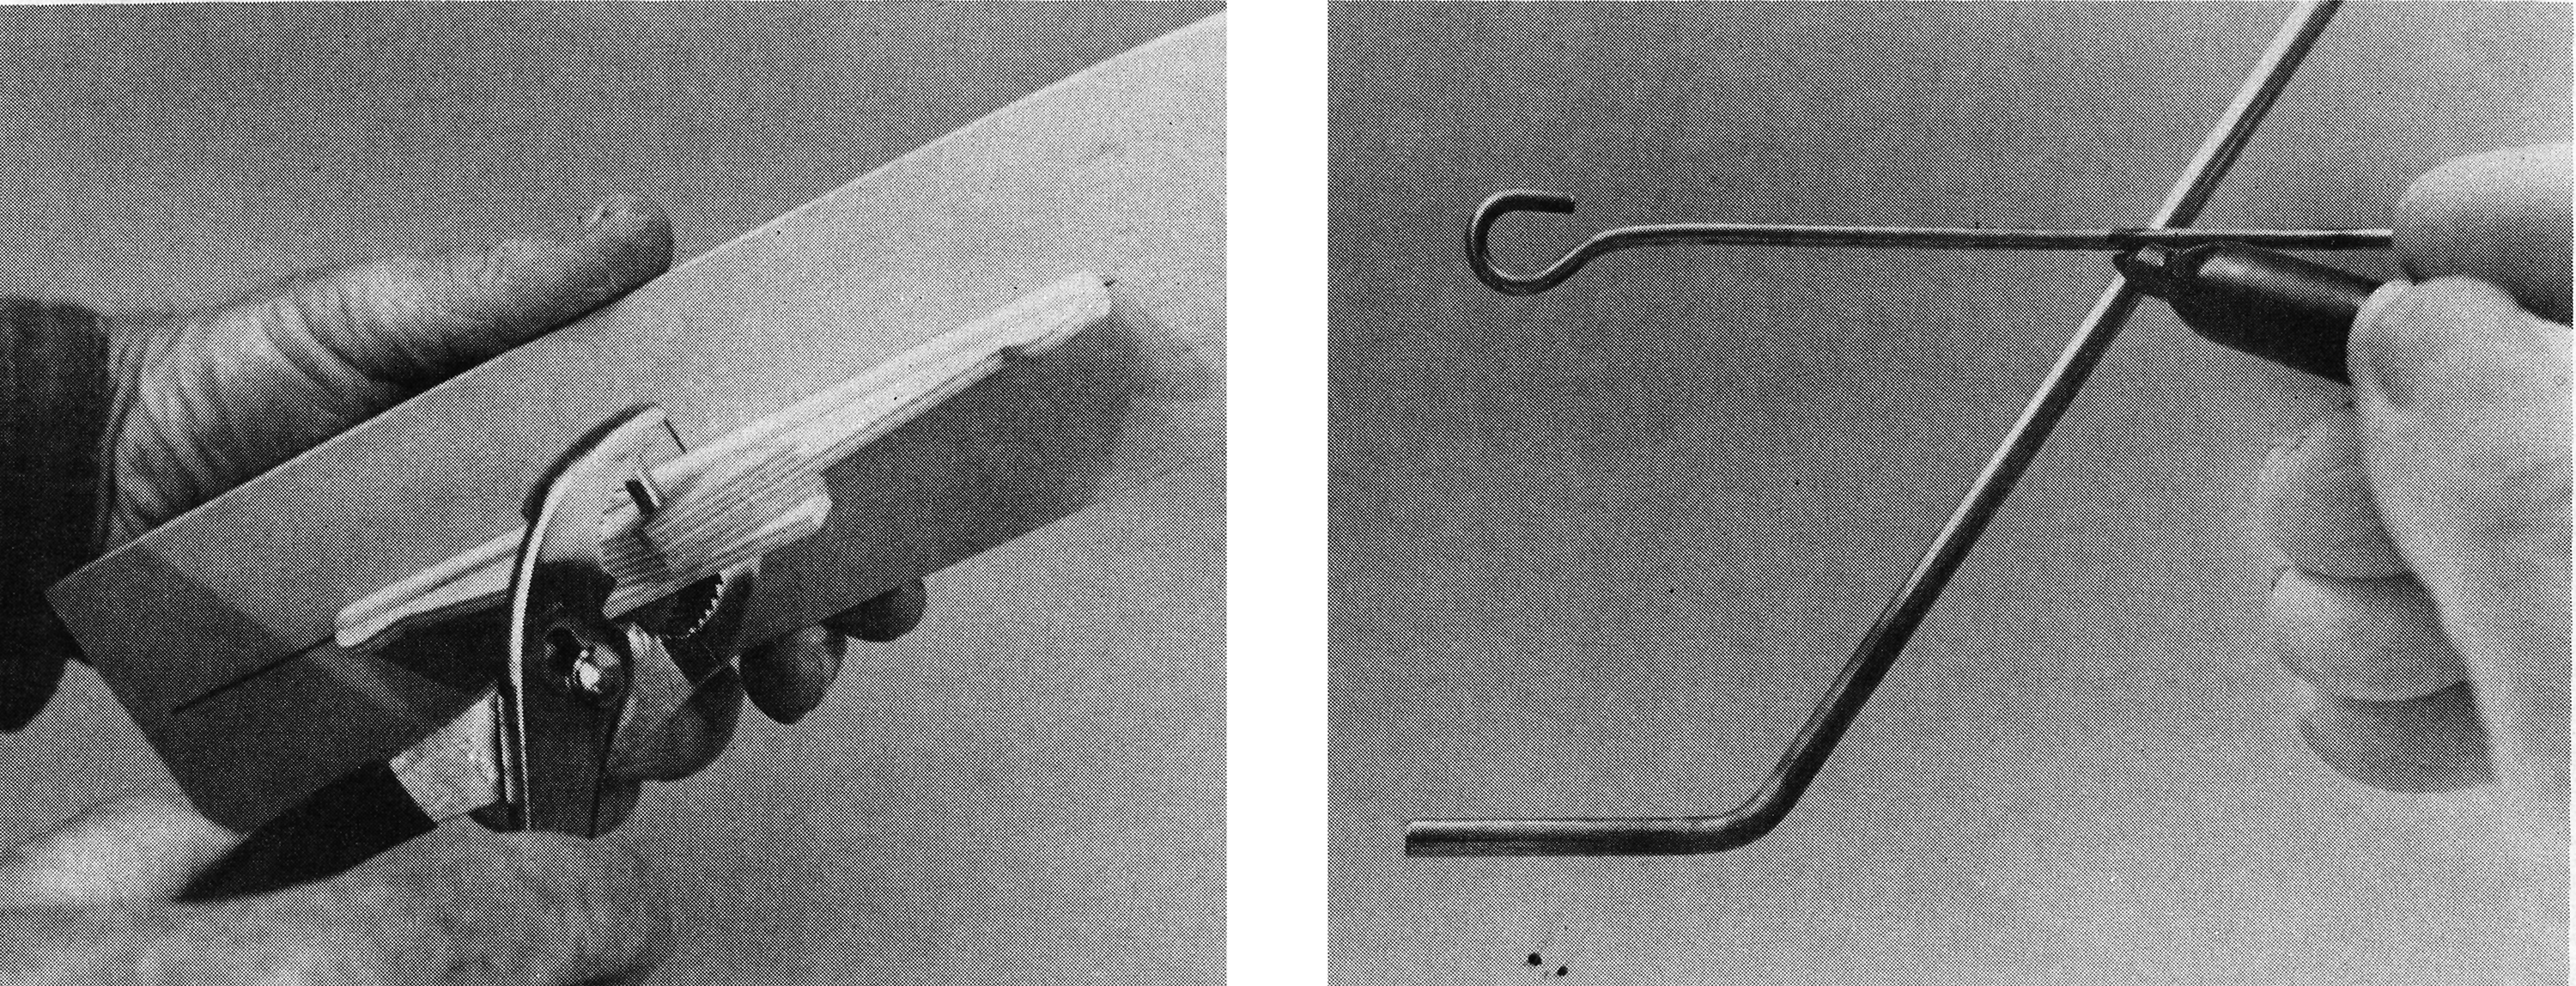
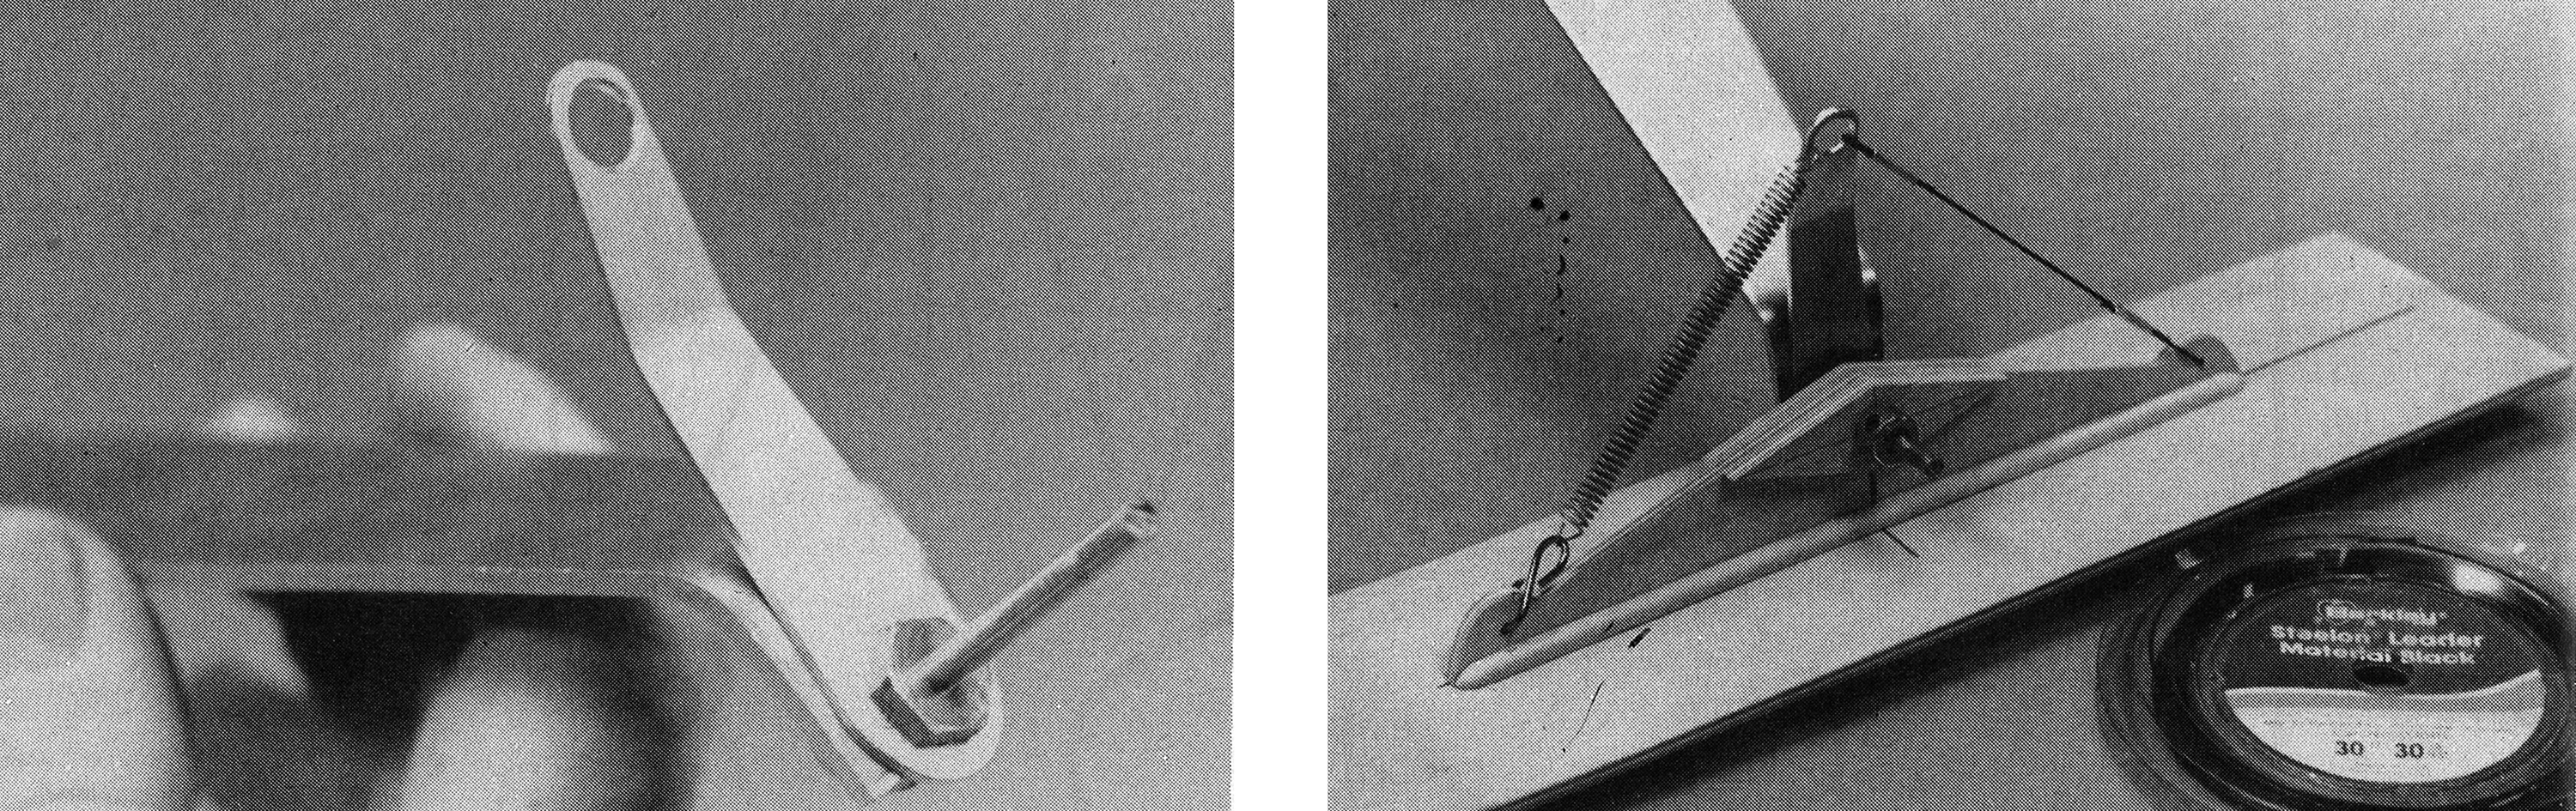
Holding the wire hook (which we will call the "anchor point" from now on) about 2 inches above the axle shaft, and using a permanent marker, mark both the anchor point and the gear leg where they meet (see photo). Bend this end of the anchor point parallel to the gear leg, and cut it off about an inch beyond the bend. Rough it up with a file or Dremel tool, then bind and solder it to the gear leg so that the hook itself is 2 inches above the axle, as shown in the photo. Unless you are using 4-inch diameter wheels, this spacing will allow you to reattach the wheels to the airplane without removing the anchor points. Repeat this procedure exactly on the other gear leg.
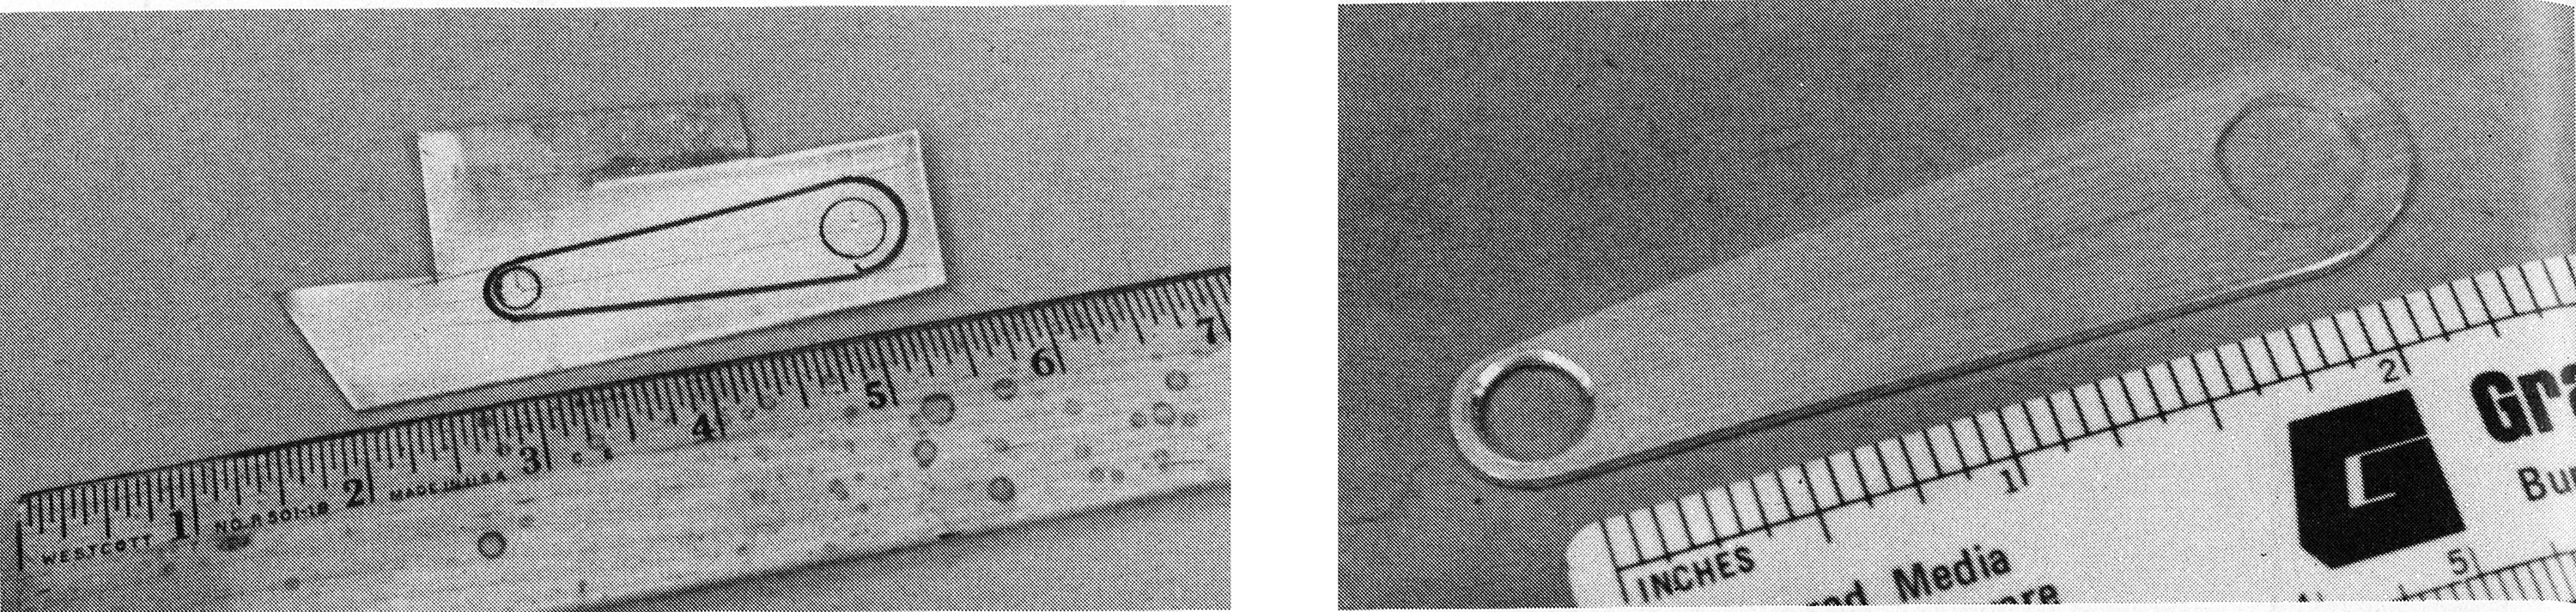
(B) If your plane has dural gear, you're in luck: This is the easier of the two methods. Cut two rounded, teardrop-shaped anchor points from 1/16-thick aluminum as shown on the templates (see photo). Drill a 1/4-inch diameter hole in the small end; in the large end, drill a hole to exactly fit your axle threads. The distance from center to center of these two holes should be 1-1/2 to 2 inches; the exact length is not critical as long as the two pieces are identical (see photo).
Remove the axle shafts, insert the threaded ends through the larger holes, and reassemble, tightening securely. The anchor points should be inside the landing gear and oriented straight up from the axle. You can bend a small angle outward near the top of the anchor points to put the 1/4-inch hole more directly over the ski center, but this isn't necessary (see photo).
Depending on the type of nose gear your ship has, you may have to use a little ingenuity in installing an anchor point for the spring and cable. A look at the illustrations should give you enough ideas to work with. Most sport aircraft use a straight nose gear leg, and a short wire loop anchor point soldered to it 2 inches above the axle will work fine.
Finish your skis according to your favorite method, but keep it light. I used Sherwin-Williams' Zelon primer and red automotive engine paint for mine, but an epoxy finish such as K&B or Hobby Poxy would probably be better. To keep the bottoms glass-smooth, wax them with a good automotive wax before you first take them out, and then a couple of times a year thereafter.
Mounting and Adjusting Your Skis
Install both your main skis, using wheel collars on both sides if necessary to keep them from binding. They must swivel freely on the axles. (Sunbelters: The curved end goes in front and curving up.)
Suspend your ship by its wingtips and eyeball an angle of about 5° nose-up on one ski. Loop a piece of steel cable (Steelon brand nylon-covered fishing leader is great) from the anchor point above the axle to the 1/16 hole in the rear end of the spine. When you have the angle set, crimp it using small lengths of brass or aluminum tubing as shown in the photo. This sets the angle-of-attack of the ski, and gentle finger pressure on the rear edge of the ski should not raise its nose beyond this angle. Duplicate this angle exactly on the other main ski. If you have the dural gear and happen to get the alignment off a hair, you can just loosen one axle and rotate the anchor point a bit.
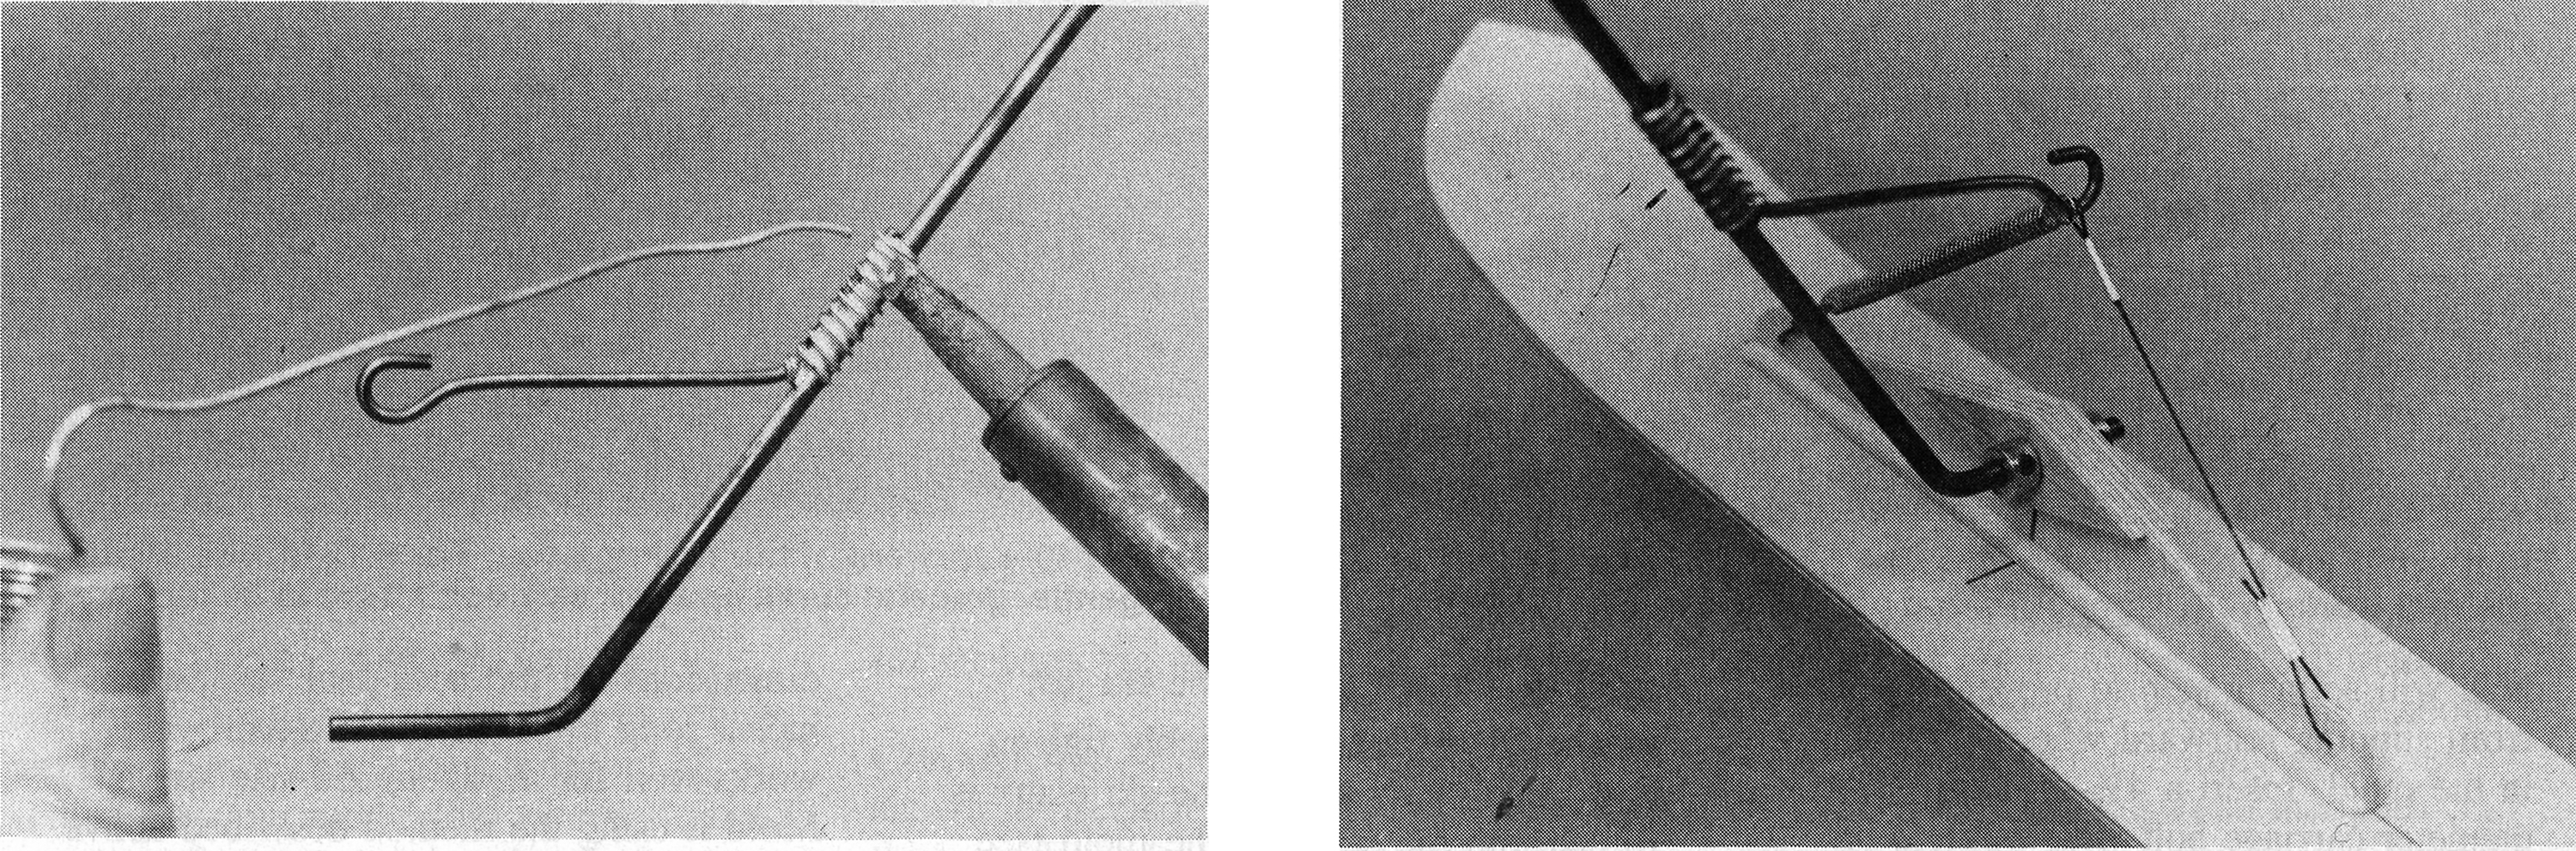
For the final step, you'll need to find a couple of identical wire springs-approximately 3/16-inch diameter and a couple of inches long will do. Your local hardware store should have an assortment if your junk box doesn't. For the really impatient, a couple of #64 rubber bands will work. Err on the side of making the springs (or rubber bands) too weak rather than too strong; if you make them too strong, they could exert enough leverage to nose over a lightweight tail-dragger.
Install the springs from the anchor point above the axle to the front end of your spine. After doing so, test the knee-action of your skis by pressing down on the front end with your finger. They should give easily but spring quickly back to their original position when released. Make sure they are tight by pulling each down a couple of inches then letting go. If your anchor points are loose or you cheated by using smaller wire, you'll find out why I specified 3/32-inch wire in paragraph (A)—anything smaller will bend out of shape under the leverage. This would ordinarily be no problem except that if the two skis do not return fairly close to an identical nose-up position, you will find an asymmetrical flight load on your skis—a situation sufficient to set your heart to popping like a pacemaker at a microwave cook-off until you get the bird on the ground again.
One tip: When you arrive at your field, set your model on the car hood or tailgate for several minutes before you put it down on the snow. If you set warm skis directly on the snow, they will melt a little of it and then freeze, with chunks of snow and ice sticking to their bottoms! It's easy to tell when you've done this: It takes full power to taxi out.
Even after the snow has disappeared, you’ll find that you can still fly on these skis until the grass greens up. Just be sure to stay on grass or a similarly cushioned surface. Asphalt and other hard-surface runways eat up the keels for the first 20 feet then do ugly things to your nice, smooth ski bottoms. Our field runway surface is a synthetic mesh material from a paper mill dryer belt. My 11-pound sport ship with skis lifts off this surface as though it were on wheels, and a couple of flights seem to have done no damage to the skis.
Why not make up a ski mold for yourself and then pass it around to your buddies? You'll find that a couple of evenings spent on this little project will be very rewarding.
Download the templates here:


Comments
Add new comment