The fun of knowing how to fly is sharing
By Bob Wilson
Photos by the author and Model Aviation staff
As seen in the August 2009 Model Aviation.

This article is aimed at new RC flight instructors or those who are about to be drafted into flight instruction. You old-timers who have been teaching since the Civil War won’t need this, except perhaps to compare notes.
Many large clubs have established entire squadrons of flight instructors and have their own systems. However, there are a number of smaller clubs, some of which have only 10 or 15 members and perhaps are recently formed. It is those clubs at which this story is aimed.
In some instances, clubs must drag an RC pilot, kicking and screaming, to the altar of RC flight instruction. Teaching RC flight is a noble cause, the rewards are many, and it is satisfying to see a student who soloed a year earlier do well with his or her flying.

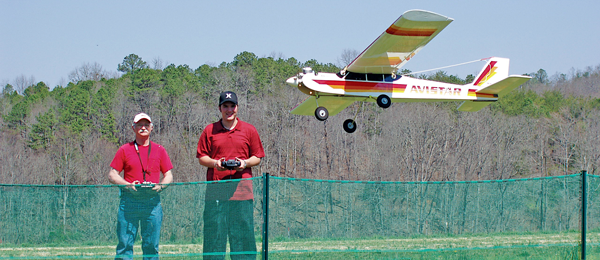
For the purposes of this discussion, I will assume that the new flight instructor has arrived at a point where he or she can do basic aerobatics and recover a model from unusual attitudes. I will also assume that a “buddy box” will be used and, if possible, that the student has been using one of those magnificent flight simulators.
To ease your mind, most of the unusual attitudes a student gets a model into will involve overcontrolling the ailerons and ending up in a spiral toward the ground. That’s an easy recovery.
It is crucial that the instructor is fully informed about checking the trainee airplane’s control functions and engine functions, such as finding the “sweet spot” on a glow engine’s needle valve. If flying electric, the instructor should know how to check battery-charge status, electrical wiring, and the myriad of details necessary for a successful flight.

One thing to keep in mind with an electric-powered model is how long it will fly on one charge. Too many of these airplanes end up out of power and short of the runway. If necessary, use a kitchen timer or a stopwatch.

When I was racing sailboats, someone told me that winning races was 90% details and only 10% sailing. This applies even more so to RC flying.

The ideal demeanor for an instructor is calm. He or she should be able to recover a model, coolly return it to a safe altitude, and continue with the instruction. No kicking, cussing, or screaming is allowed. Yes, point out the mistakes, but also explain why they were made.
When the students do something right, compliment them. They feel stupid sometimes, and it is up to the instructor to keep their enthusiasm up.

Explain to the newcomers what you count on them to learn or do during a session, so that they have a handle on your expectations. Everything is new to them, so take the time to help them understand even the most rudimentary tasks. Describe how the ailerons bank the model and that the elevators do most of the turning. Some basic aerodynamics knowledge is needed.
The instructors should let students go home at the end of the day feeling good about themselves, in spite of the mistakes they might have made. Remember that they learn from making mistakes. Instructors can go home and do what they need to do to relax.

For heaven’s sake, don’t let beginners build up a phobia about the wind. Say, “Let’s go up and play in the wind.” Too many experienced pilots won’t fly if the wind exceeds 5 mph, and that’s not good.
Following is the routine I use for instructing new pilots. In comparing notes with other clubs, I have learned that it is common practice with instructors.
Step One is to get the model to altitude. Once there, the only thing you want the student to do is make a left-turn circle. You want him or her to be able to make those turns without losing or gaining altitude and, most important, without letting the wind carry the model off.

Keeping the flying close allows you and the pupil to see the airplane better and teaches him or her to fly the model and not let the model fly him or her. Maintain an altitude that will allow you, as the teacher, to recover the aircraft if you see it diving for the ground.
Each student will learn at his or her own rate. Some become skilled in a matter of days, and some require months. If you notice that you have a slower learner, team him or her with one or two more instructors, for the benefit of additional points of view and rest from teaching.

Step two is the dreaded “right turn.” This is bound to bring on a bout of knees knocking and the possibility that everything will fall apart. This is where the student will need your patience the most.
To break up the routine, sometimes I will either do snaps or rolls in the middle of all this. But if you think the beginner is up to it, let him or her do a loop or two. But stick with the basic discipline and keep the pupil’s nose to the grindstone.
Step three is the figure eight. By this time, I hope that the novice has almost or has mastered the basic left and right turns.
For this stage of learning, you need an object on the ground to use for the center of the figure eight. Choose something more permanent than a cow, since it will move. A building, a tree, or a telephone pole will do; even where you’re standing on the flightline is a good reference point.

Since this part ties into the next, it is important that the student has learned to make turns smoothly, neither gaining nor losing much altitude, and can compensate for wind drift.
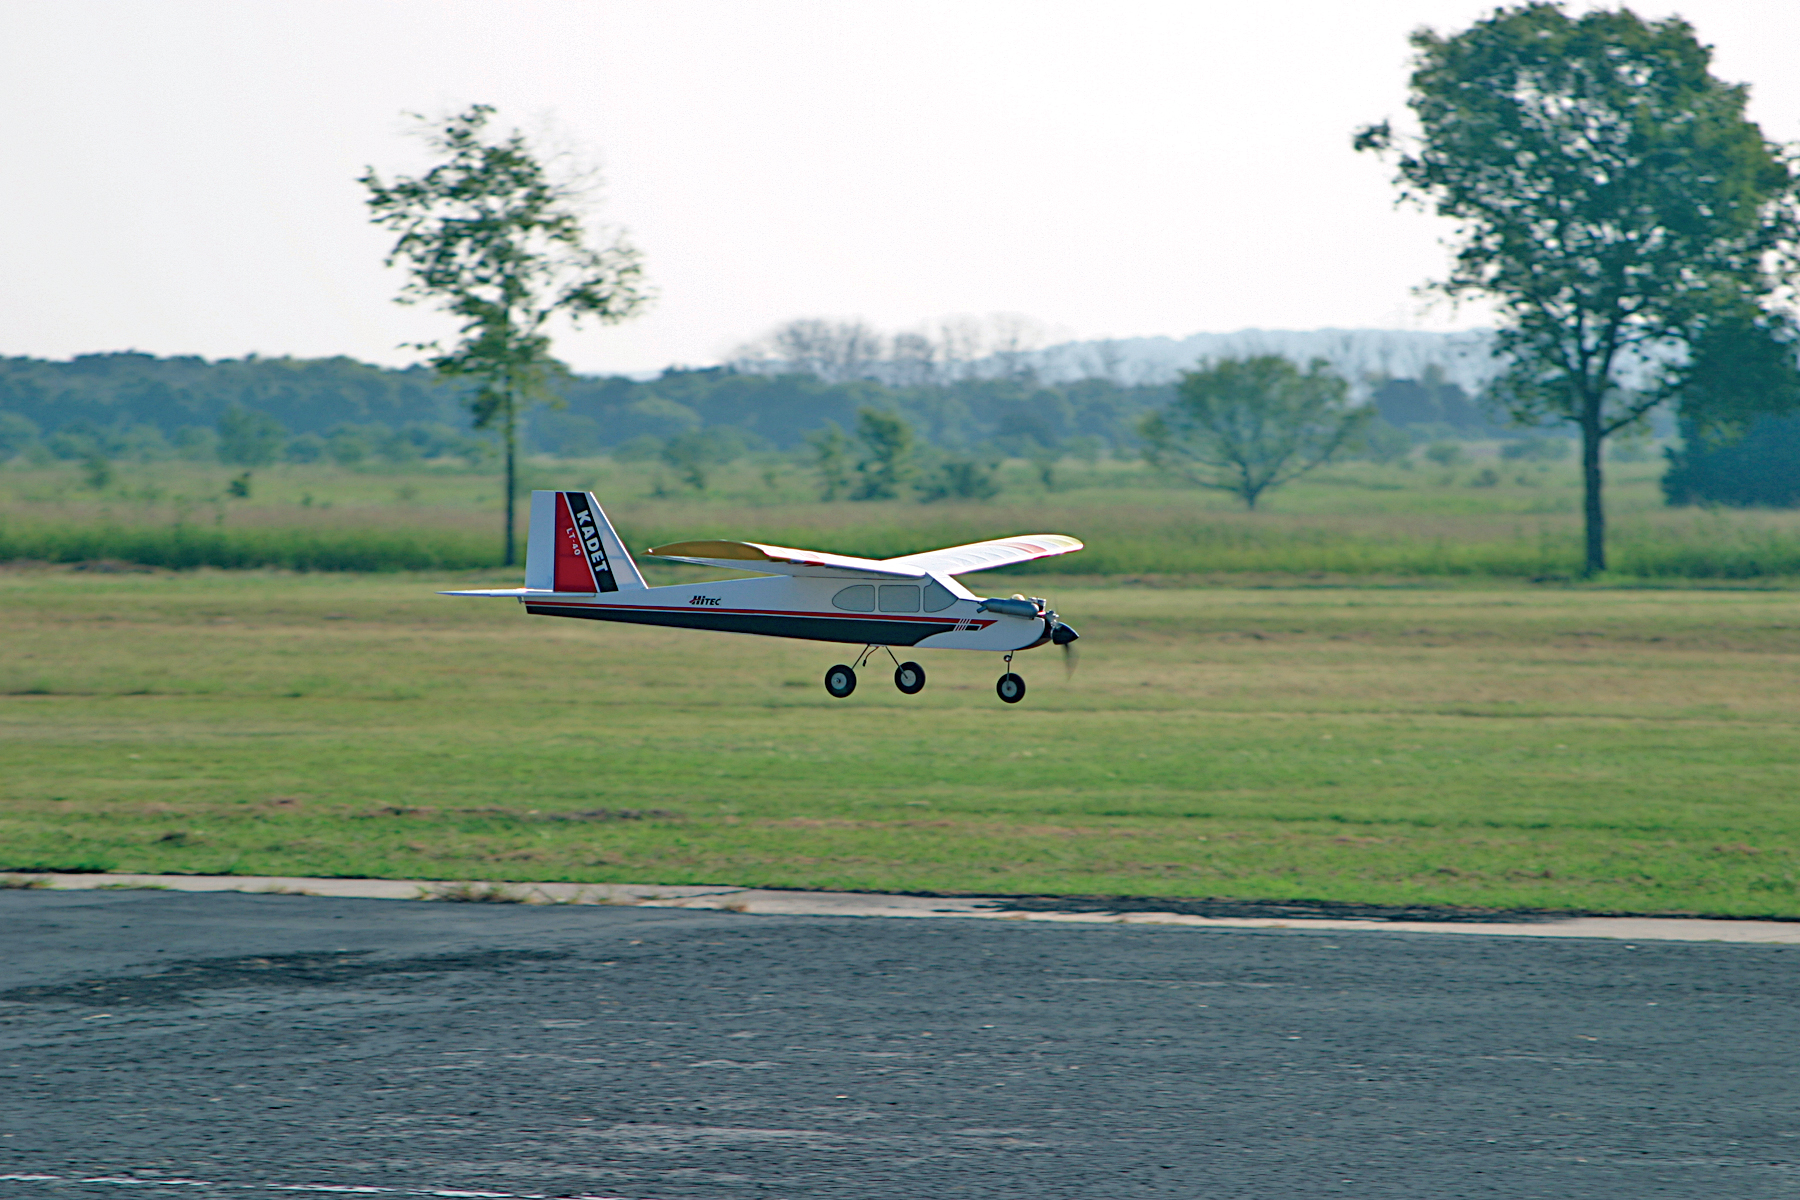
Step four involves landing approaches. If you have a genius on your hands, you may have let him or her try takeoffs by this point. But right now, let’s concentrate on establishing good habits for landings.
Many instructors have found that teaching a student to take off with a model can offer delusions of grandeur. The urge to fly doesn’t always meet an instructor’s teaching schedule. Then the student might think, “I know how to take off; maybe I’ll go out for a quick flight and hope for the best on the landing part.”
The best doesn’t always happen. Teaching the landing first reduces the risk of a solo disaster.
Good landing habits involve a downwind pattern that is parallel to the runway and not too high, not too far out, and with a base leg that is close enough to keep a good visual on the model, instead of way out. A landing should also include a final approach during which the throttle is used to control the rate of descent onto the runway. Teaching good power management is important for good landings, and power should be backed off beginning on the downwind leg.
It is wise to keep an aircraft higher for initial practice of landing approaches and lower as you feel that the beginner is building confidence. However, at this point the pupil should be performing only approaches—not landings—until he or she is ready. That will depend on the person’s ability.
One thing you want to pound (not kick) into a student’s head is to do a go-around if the model is lined up improperly for landing. Many trainees panic when this happens, and instead of going around, they end up stuffing their airplanes.
Teach good go-around habits. A good lineup with the runway and power management are the keys.
Step five is takeoffs. If your student hasn’t already done some after all this, they should be a snap. At this point, the beginner’s confidence is growing and he or she should be ready for this maneuver.
The only trick is that some trainers have marginal power to begin with. The student will need to ease off of the elevator as soon as the model breaks ground, to build flying speed and obtain adequate airflow over the ailerons.

So, cadet instructors, that’s it! There’s the basic left turn, then the right, and then mixing them with the figure eight. Last is setting up for landing approaches and takeoffs.
Many younger pilots take to RC flying like ducks to water, but some of us duffers must struggle somewhat longer. I’ve had students who have soloed in a couple of days and, as I mentioned, others take months.
However, be assured that you will gain a sense of satisfaction in seeing your student’s model take to the air in this wonderful sport of RC flying. And you might find that it improves your flying abilities.


Comments
After left and right turns,…
After left and right turns, I like to have students fly "out and back". Fly away from themselves then turn and fly directly back toward themselves. This teaches them to "move aileron toward the low wing" to level the model. Good for final approaches.
Add new comment