


Build Your Own Workspace

Written by Joe Vermillion Start your next construction project on a level surface Feature As seen in the October 2019 issue of Model Aviation.
One question I am frequently asked is, "How do I set up my building table?" Here is an easy and inexpensive way to set up your building table that will last you for years and help produce models that are perfectly straight with no surface warping.
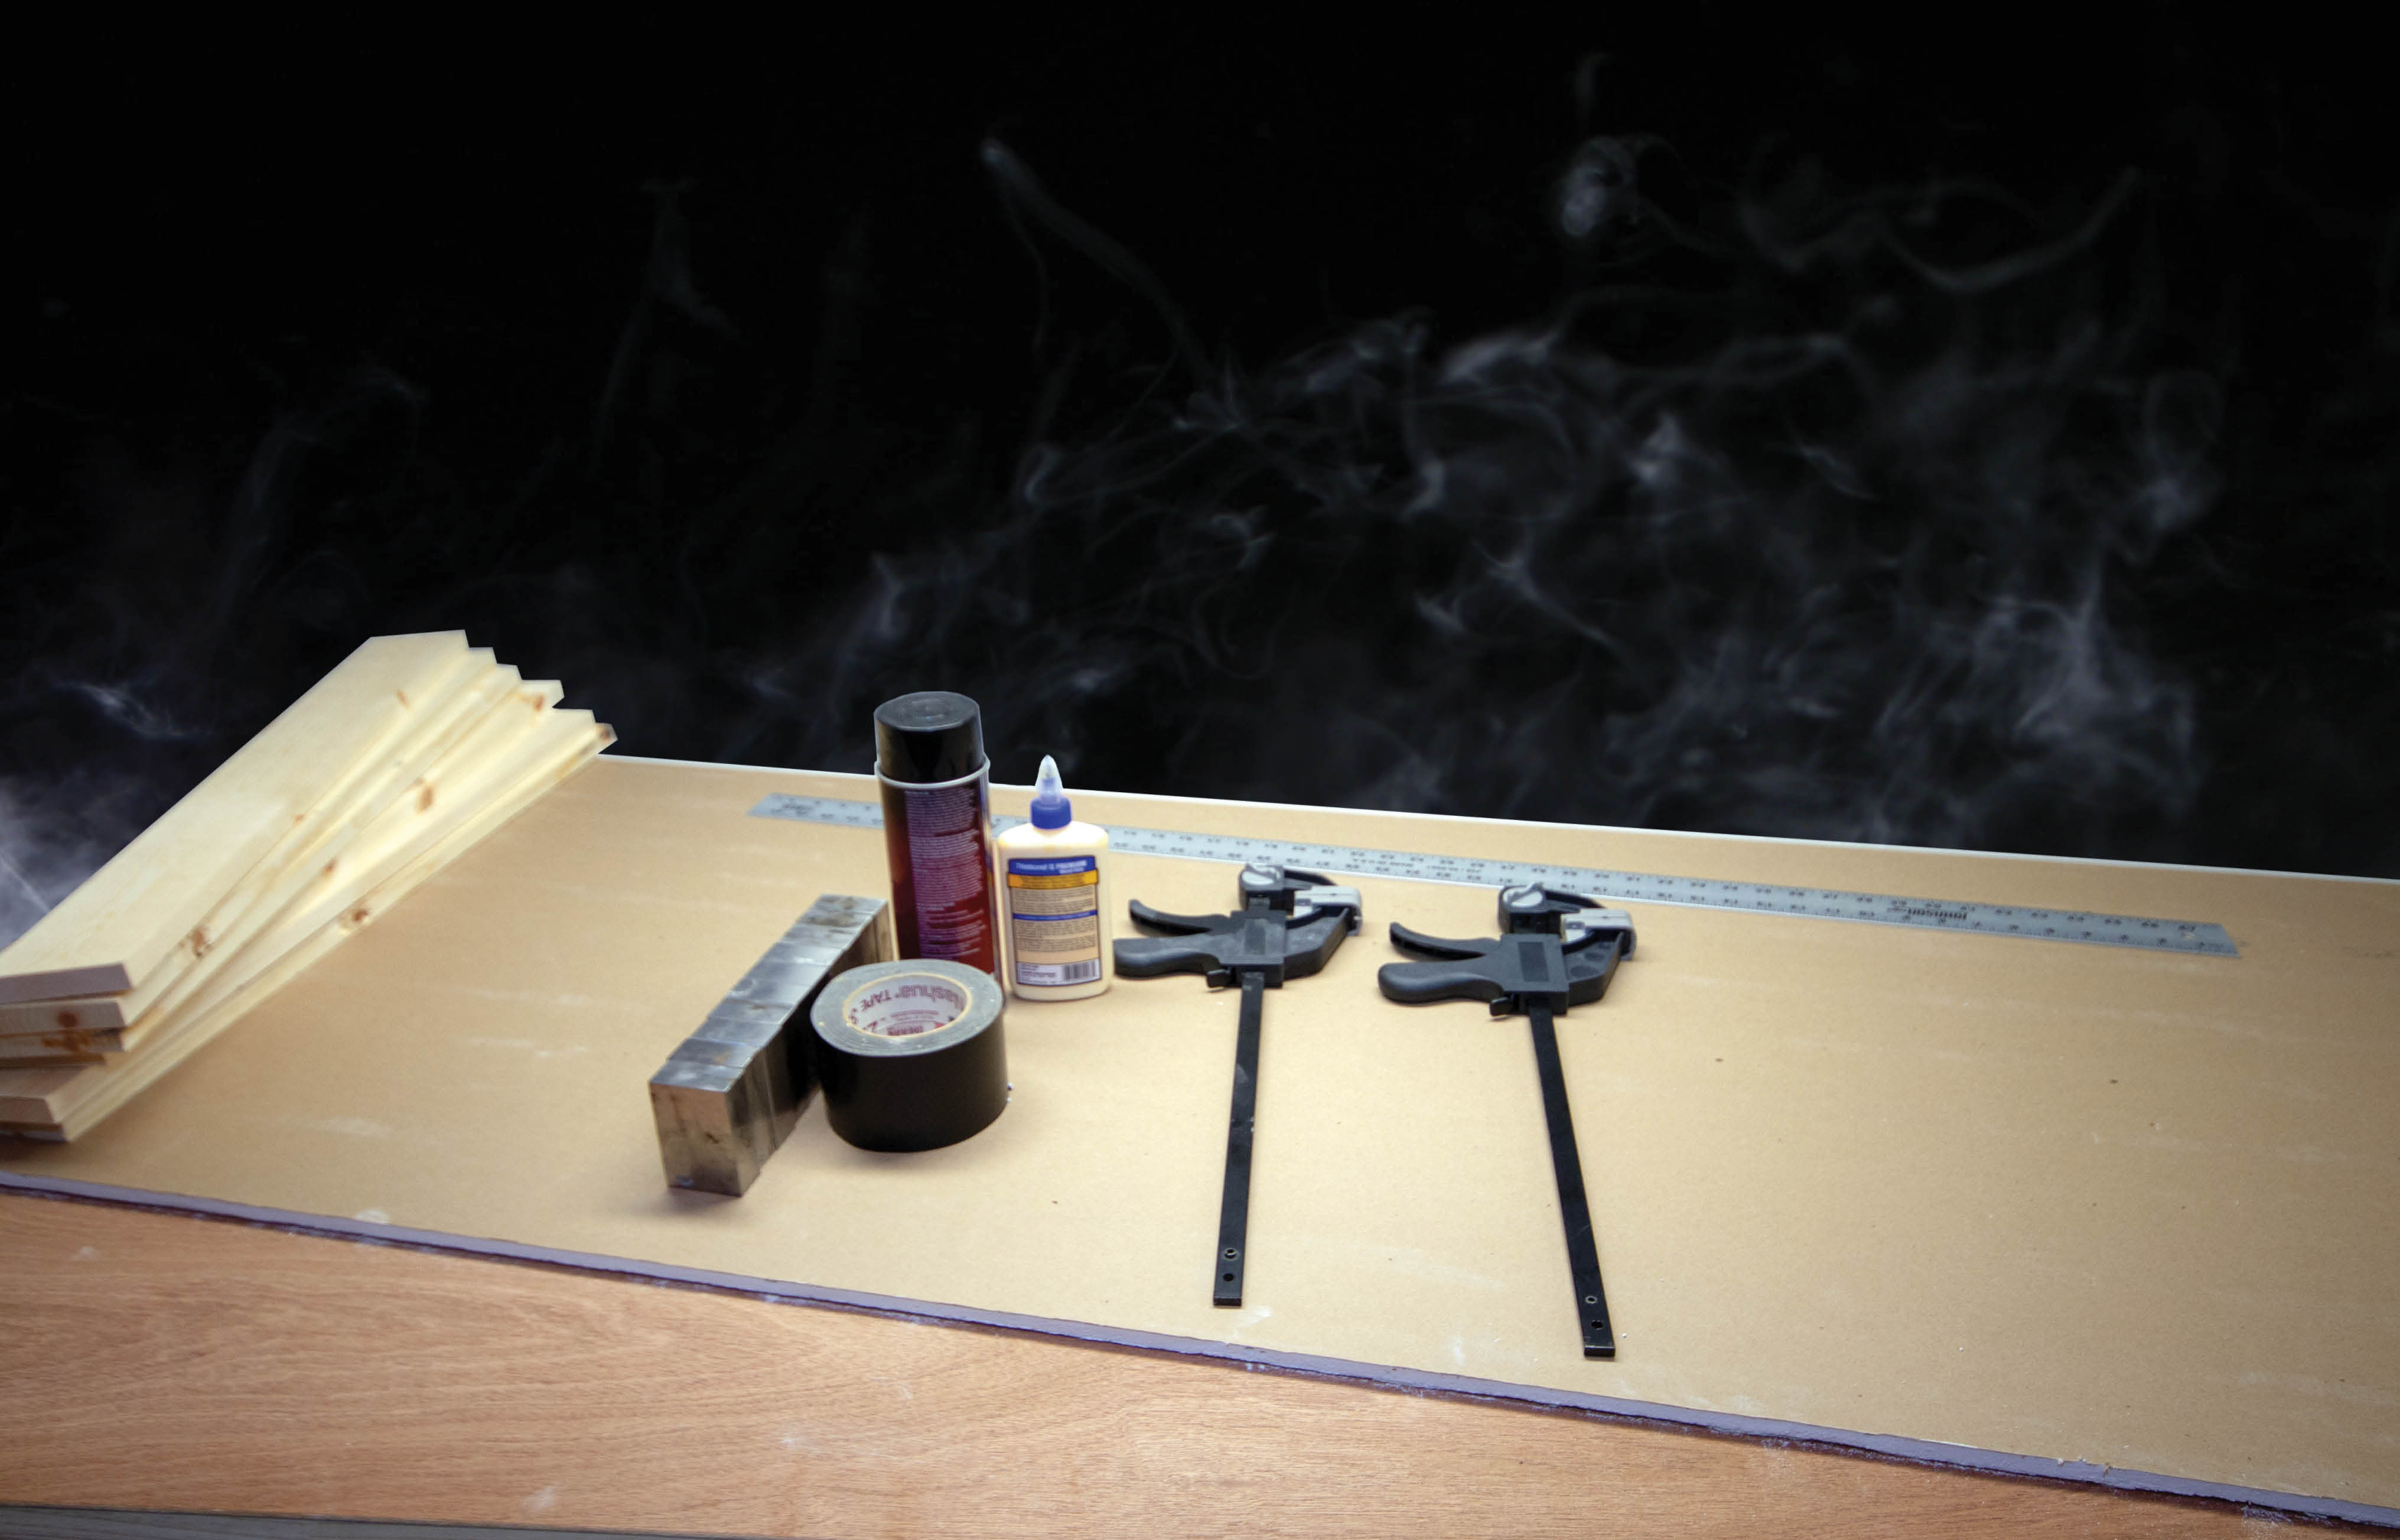
The most important thing to know before we move on is that your building surface must be completely flat. A building surface that is not perfectly flat will result in models that have warped surfaces, which will, in turn, result in poorly flying airframes. Nobody wants that. The list of things you will need is readily available from your local hardware or "big box" retail center and will not hurt your wallet too much.
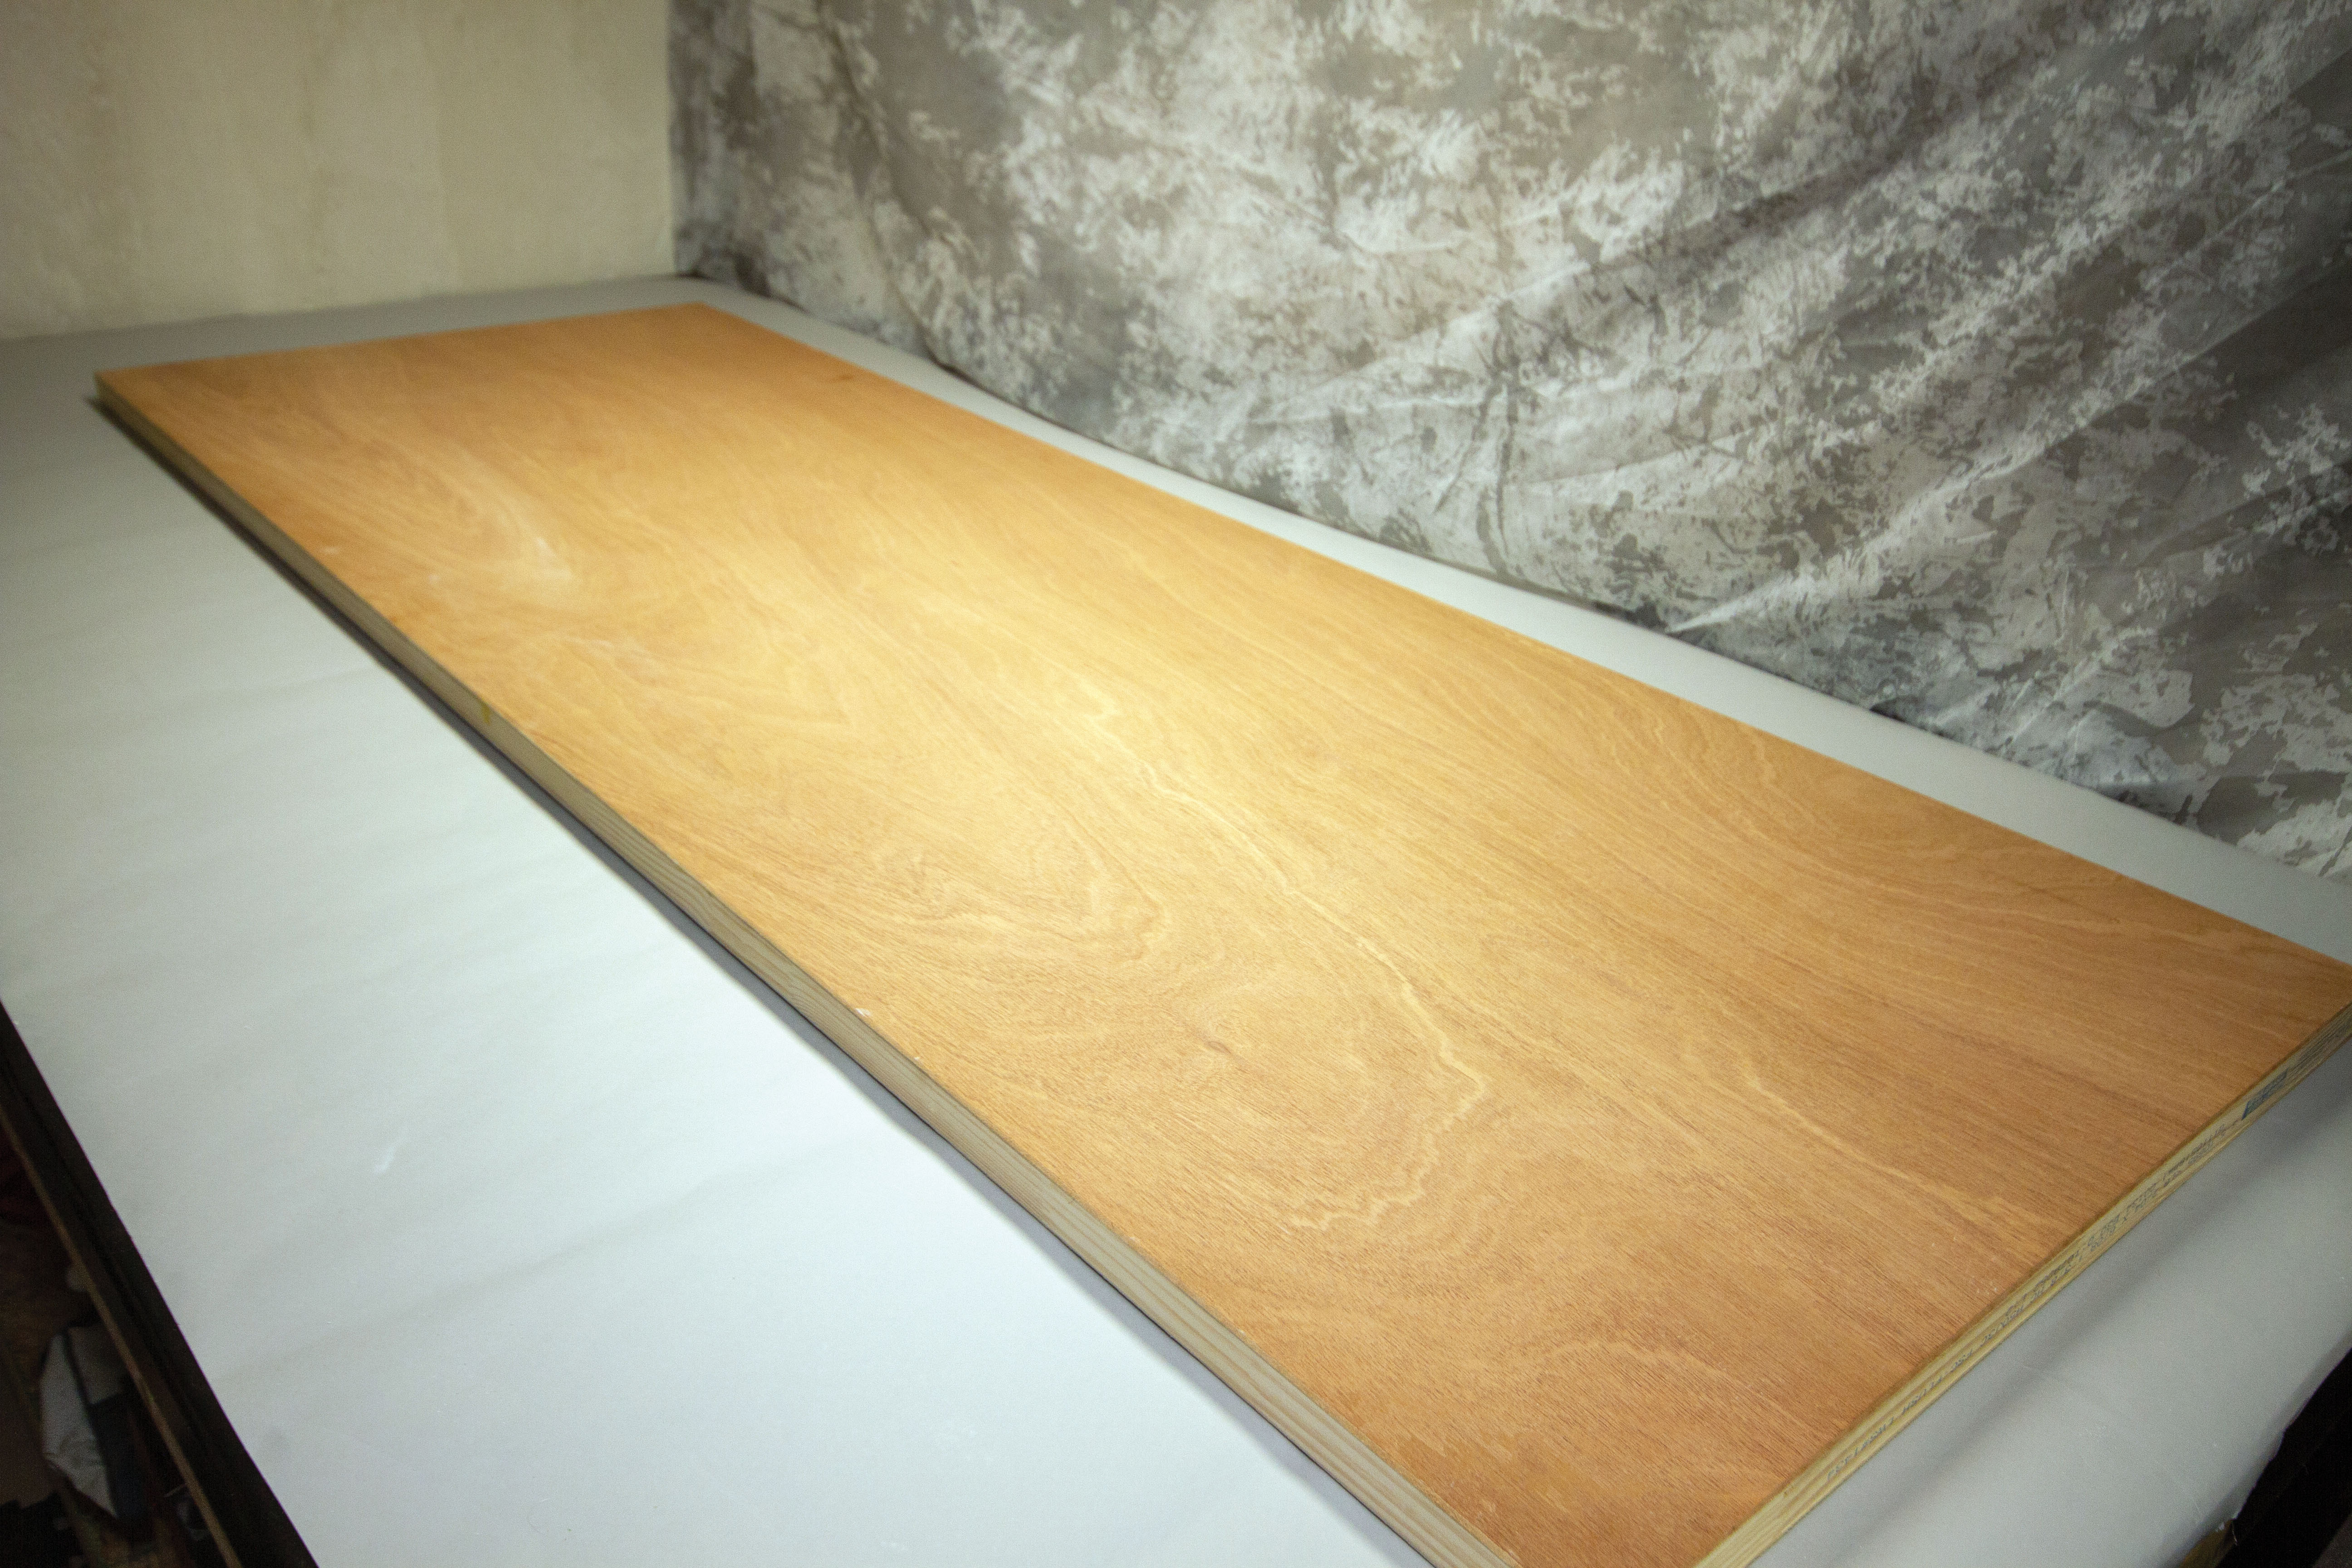
To start, when you are selecting the hollow-core door, take a close look at it in the store to ensure that it is the straightest one you can get from the rack. Many of these doors will have some warping, and you want to make sure you start with a good base for your build surface.
The drywall is simply a typical sheet of 4 × 8-foot drywall and doesn’t need to be anything fancy. After all, we will just fill it full of holes. Make sure that you don’t accidentally purchase cement board. This material will be too hard for you to get your building pins into after you start your build.
When choosing the 1 × 6-foot boards, again try to find the straightest ones you can. This can be quite a challenge at most stores, but take your time and select two that are the best. Again, these don’t need to be the most expensive boards on the rack.
For the wood glue, clamps, weight, optional contact adhesive, and optional duct tape, simply use whatever you have or are used to working with.
The next most important piece is going to be a good metal straightedge. Use this to make sure that after you have everything put together, it is perfectly level. This step is critical, so if you must spend a little more money to purchase a good straightedge, I would suggest doing so. As you move forward into building more airframes, this is a tool you will use often, so don’t be afraid to spend a little more on this item.


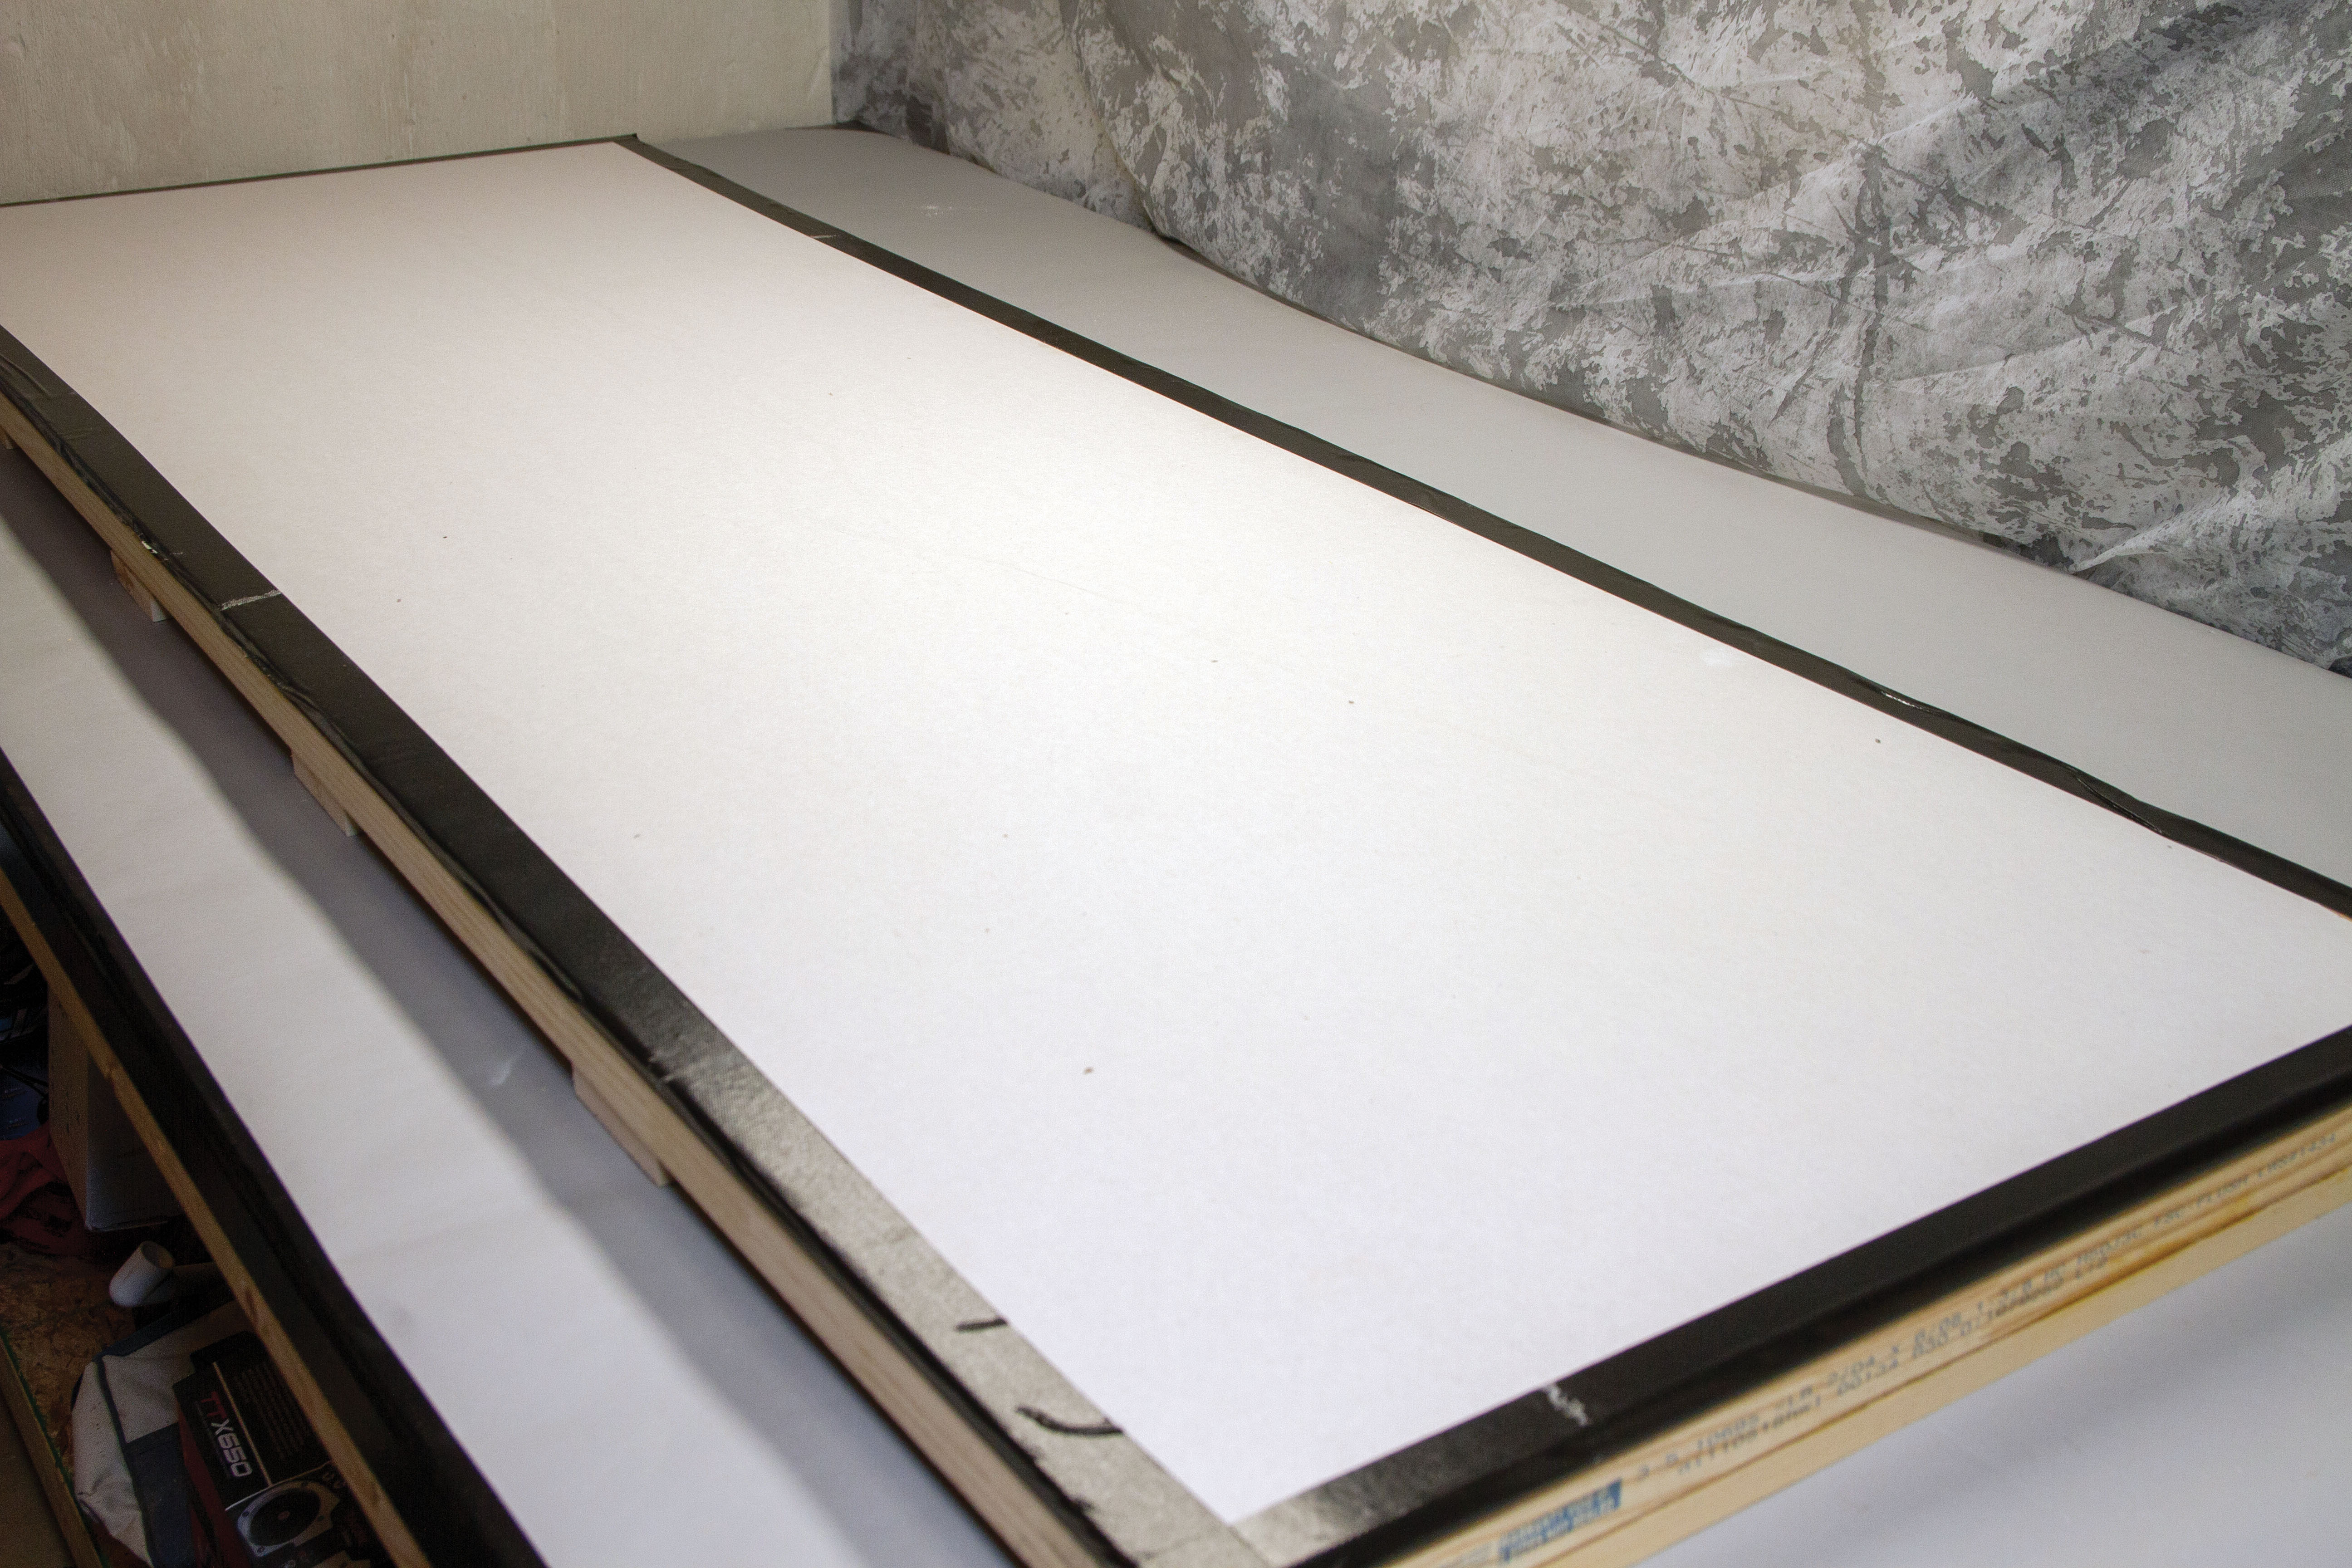
Let’s get started on setting this bad boy up! You want to start by cutting your drywall down to the same size as your door. In my case, I grabbed a door that was 28 × 80 inches, so I needed to cut my drywall to that size. If you have never worked with drywall, it’s simple to cut. Just make your marks and use your metal straightedge to score the drywall with a typical razor knife.
After you have scored it, snap it at the score lines and cut the paper on the other side of the line. It’s slightly messy from all of the drywall dust, but very easy to make the cuts on.
One of the items on the materials list was optional duct tape. It comes in handy to use the tape to seal the edges of the drywall after you have made your cuts. This decreases the mess in the shop and protects the edges of the drywall from getting broken throughout years of use. This step is optional, but I feel that the benefits outweigh the time needed to perform this step.
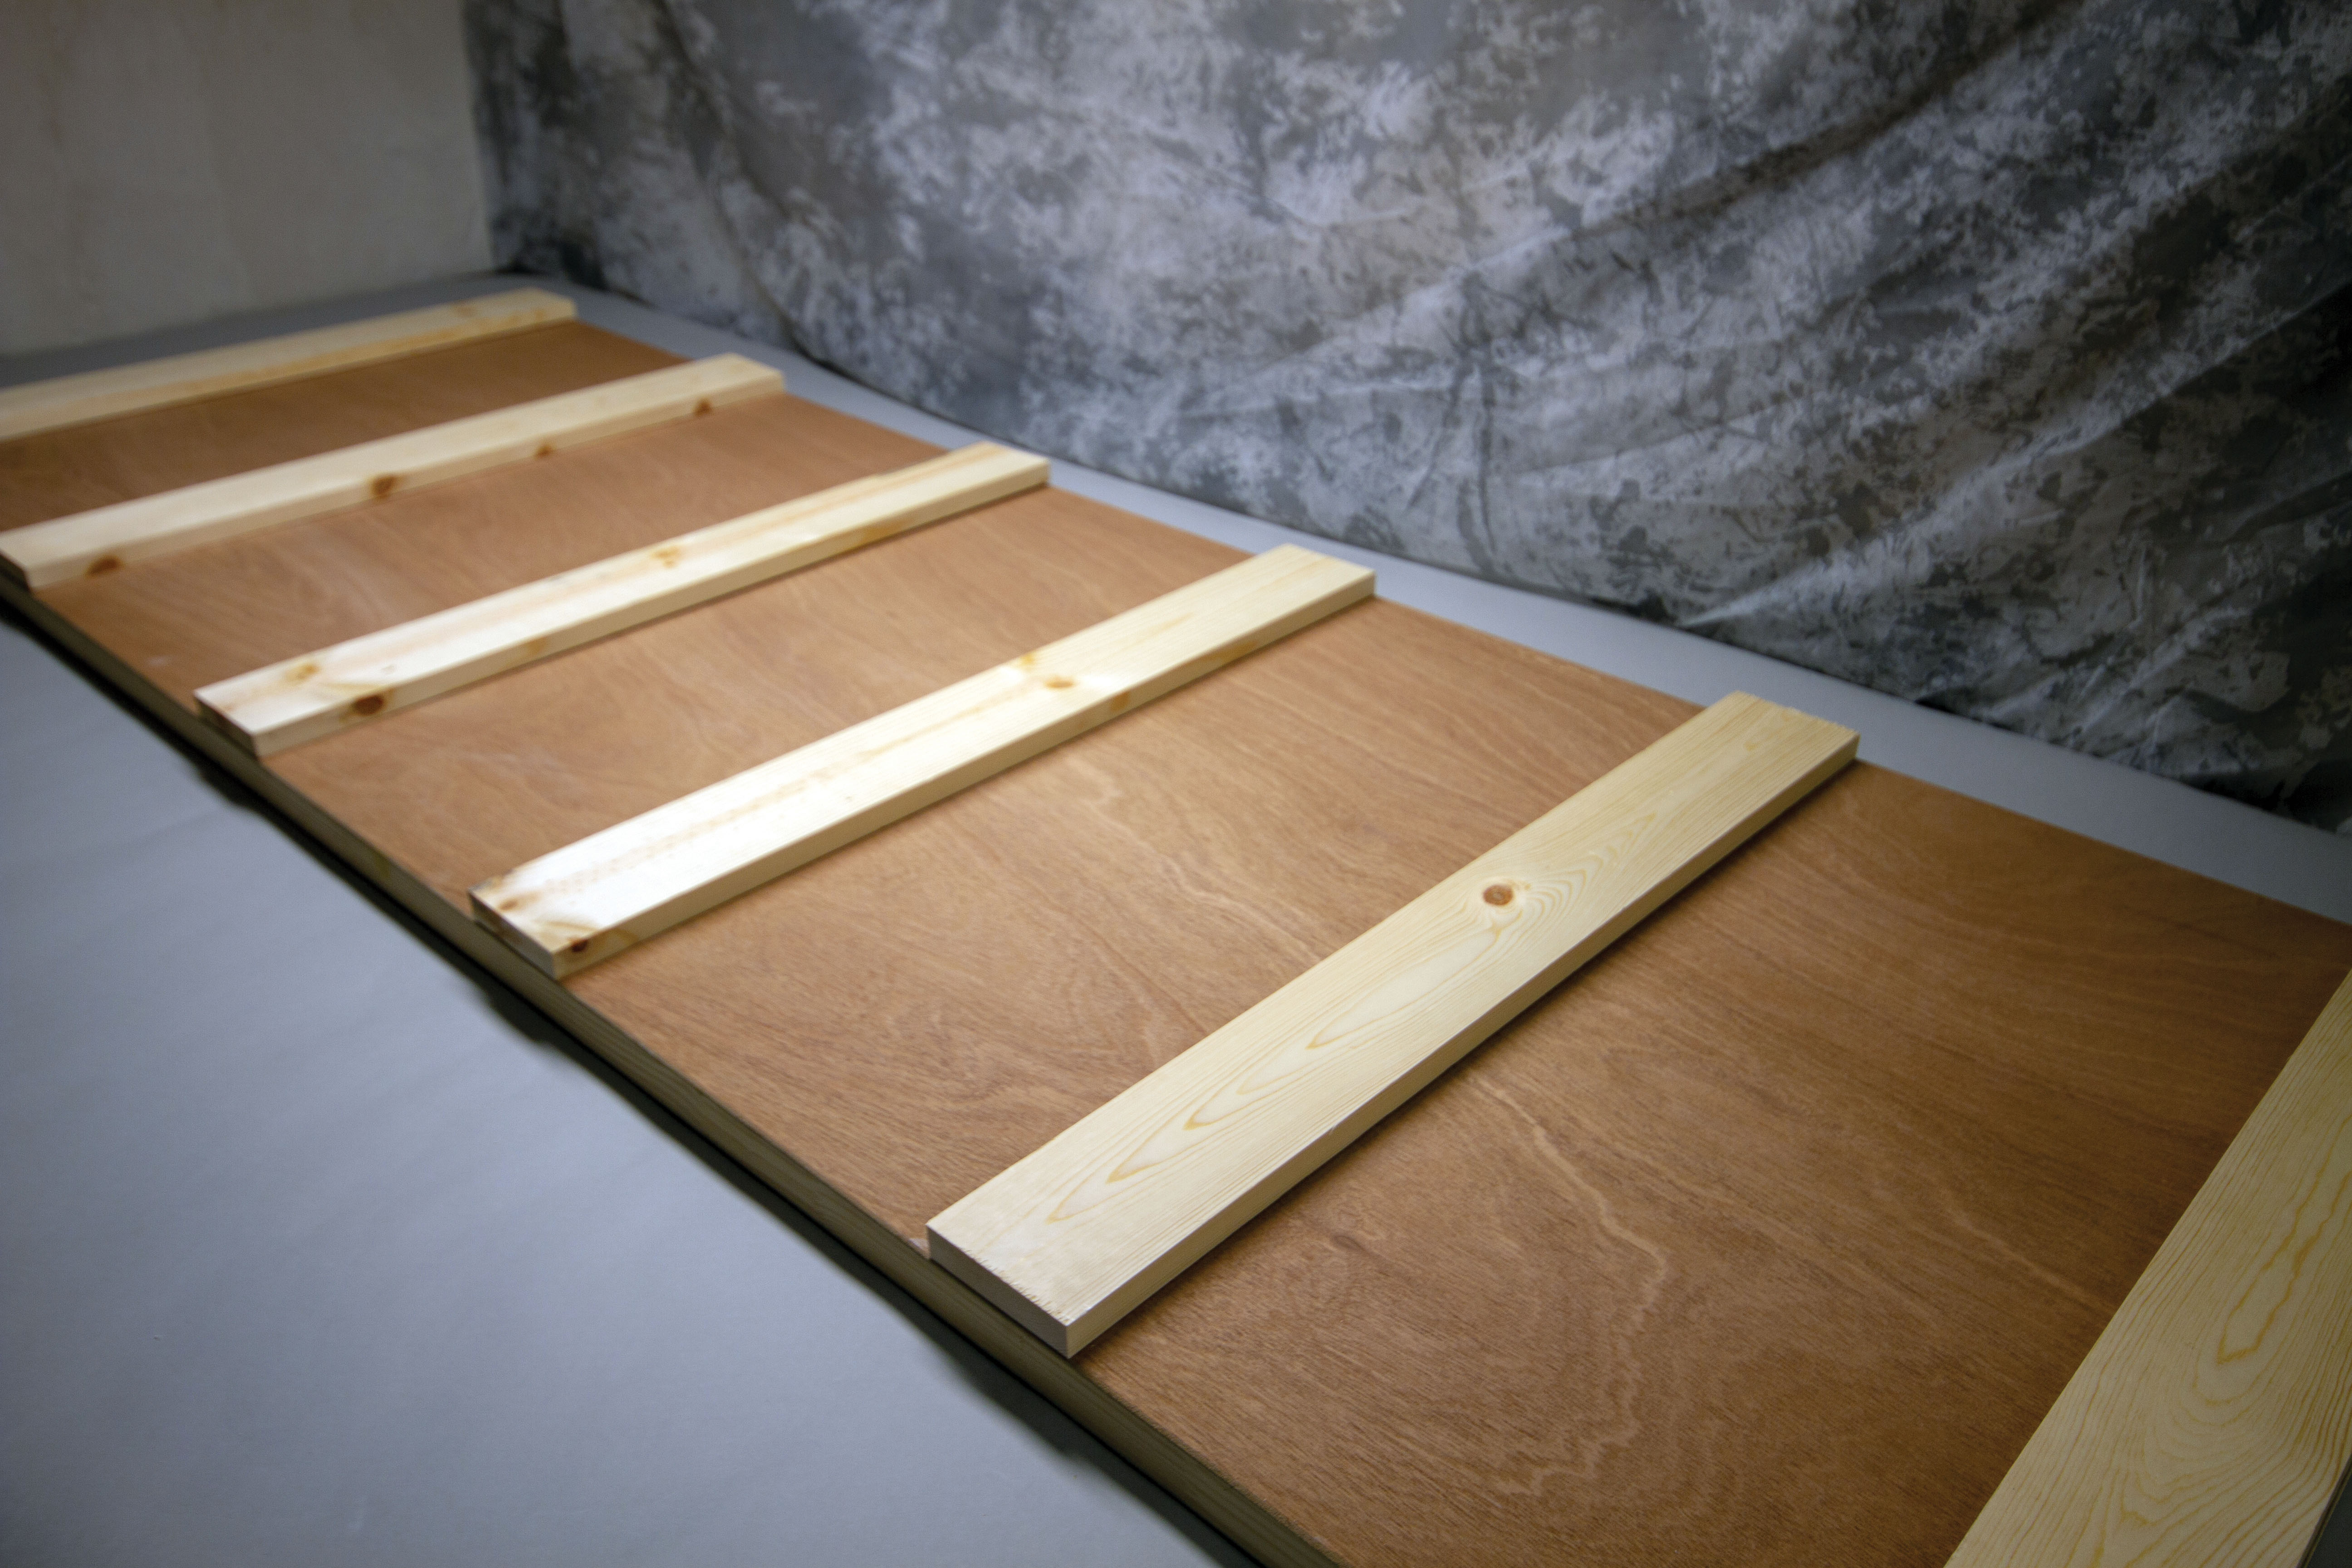
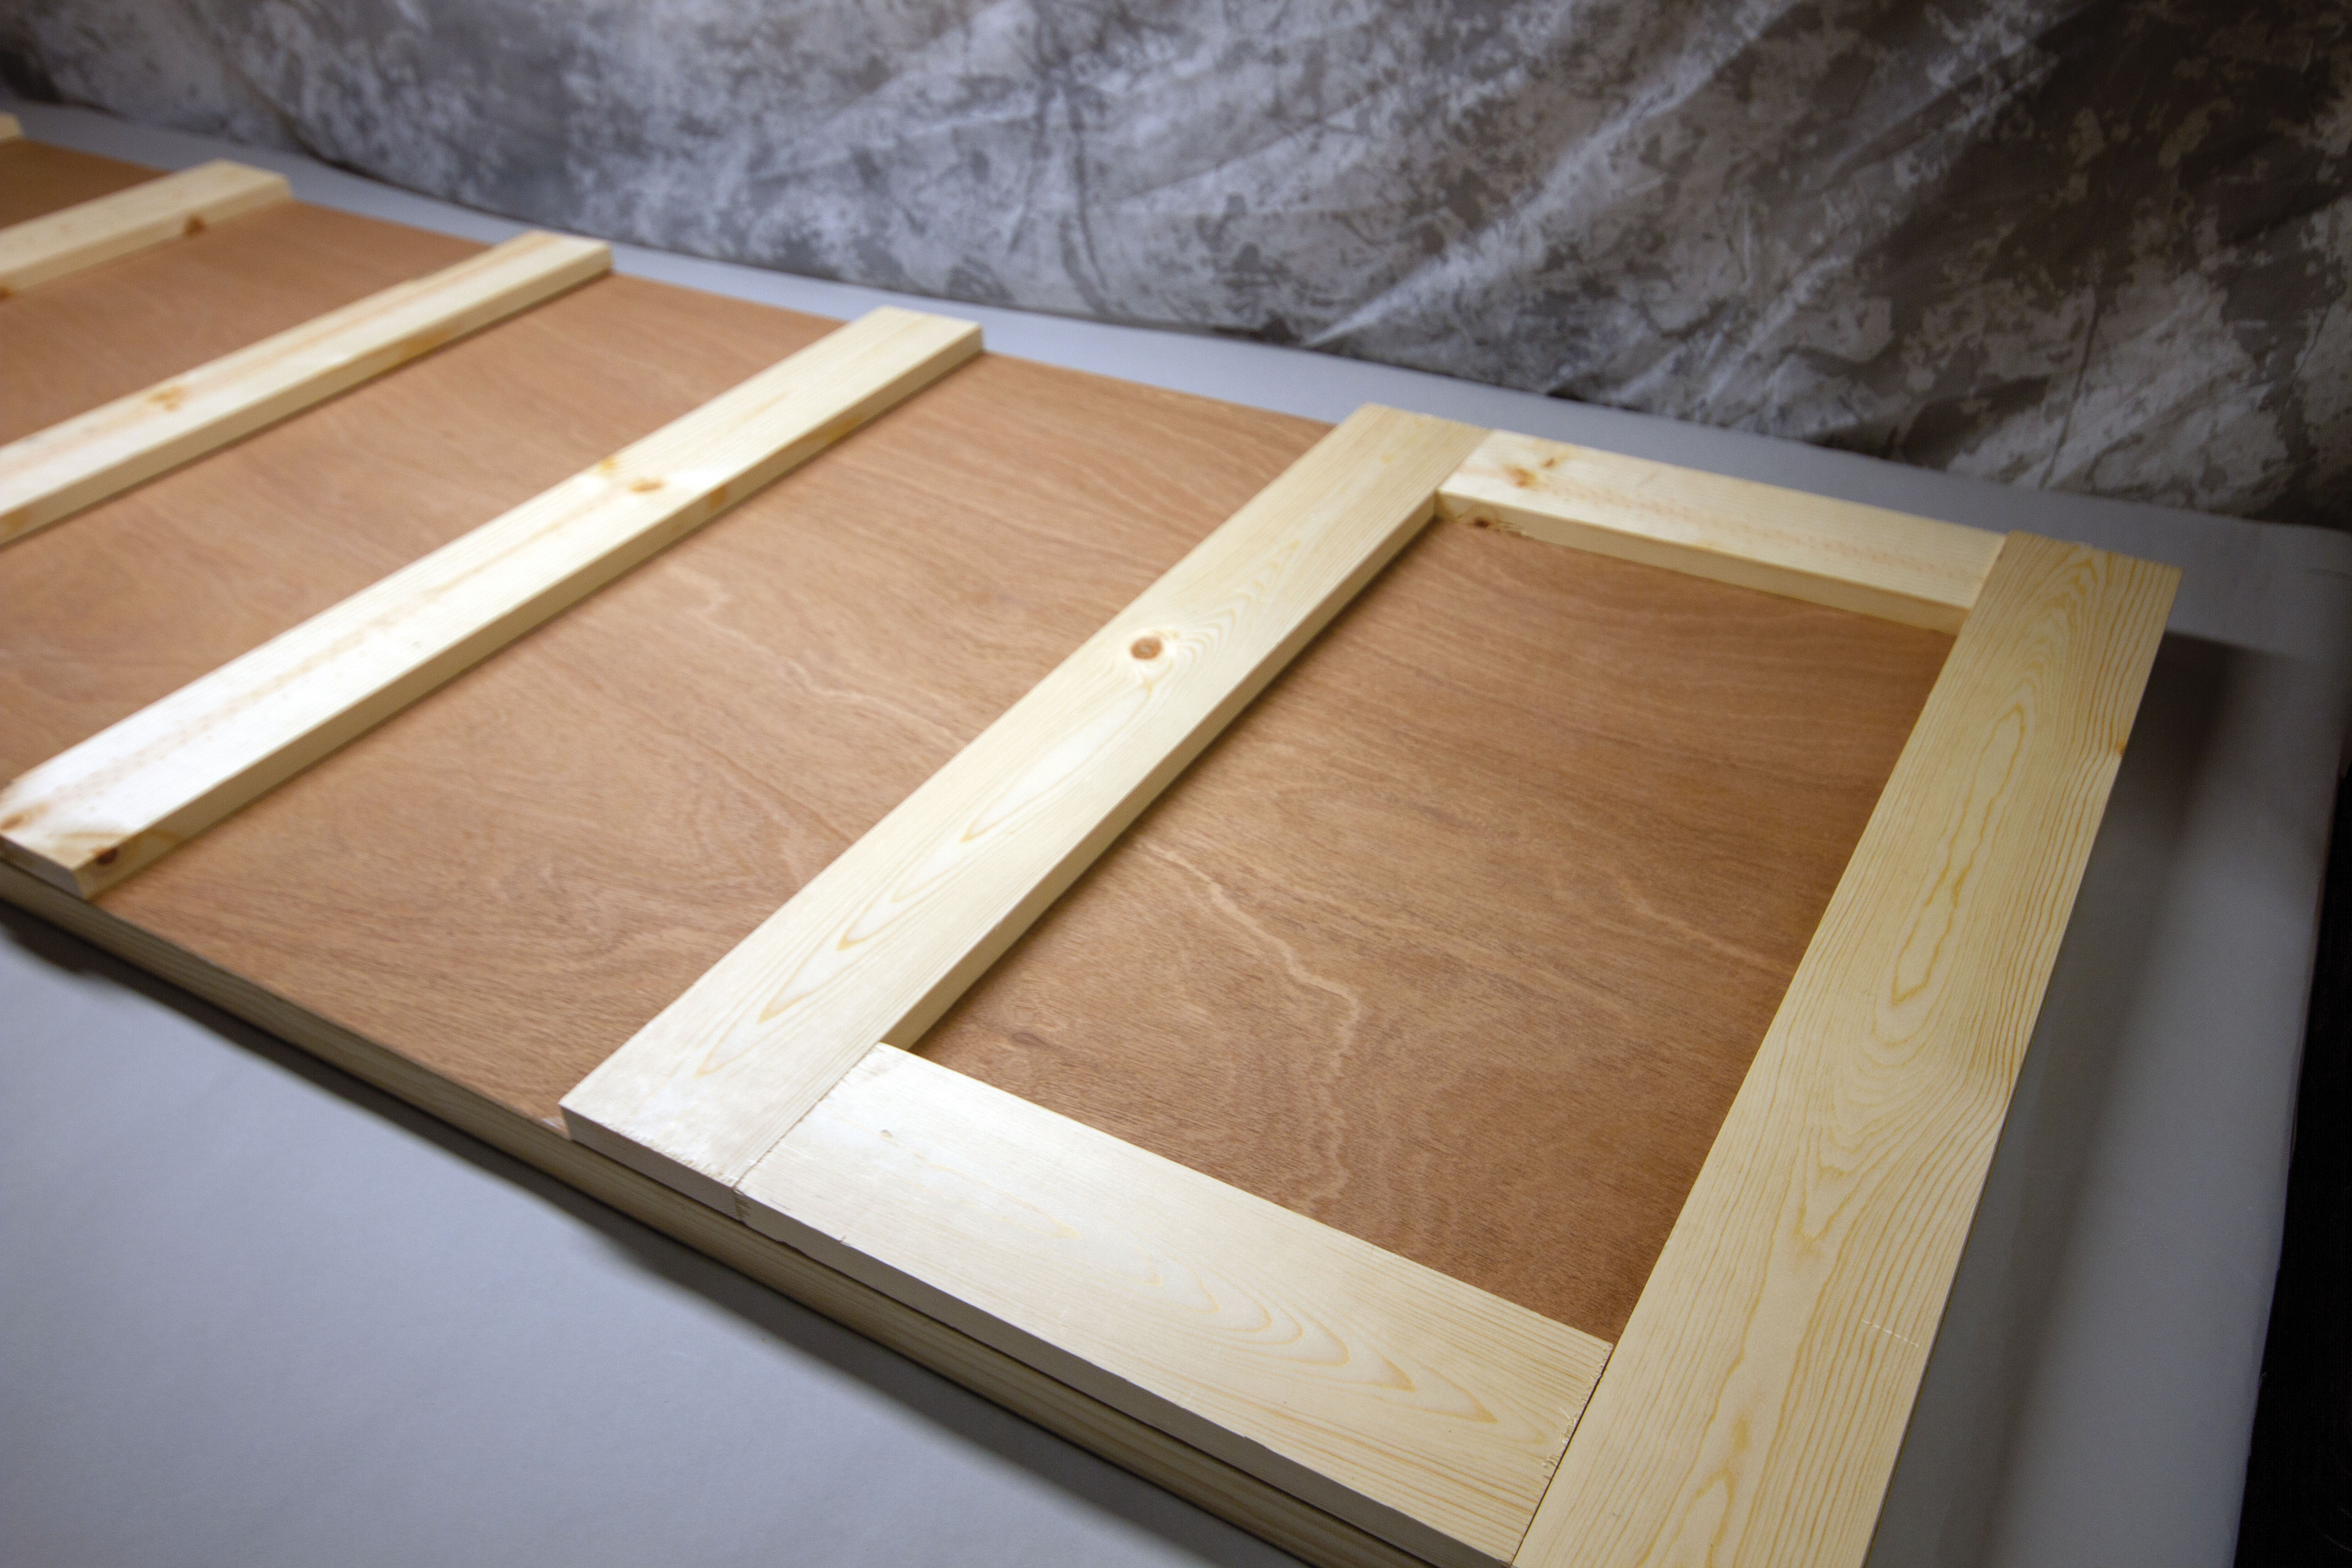
Next, cut the 1 × 6-foot boards to the width of the door you chose. I cut them to the 28-inch width of my door. Quick tip: save your scrap pieces for placement. After you have them all cut (I was able to get six pieces), you want to lay them out on the back of your door. These will help strengthen the door and keep it from warping in the future.
Lay them out on the back of the door and mark their locations on the door so that when you glue them down you have a reference line. If you lay out the end, then use the scrap pieces you had left over, you can make sure that the scrap is the same length and use those for spacing between your baseboards.
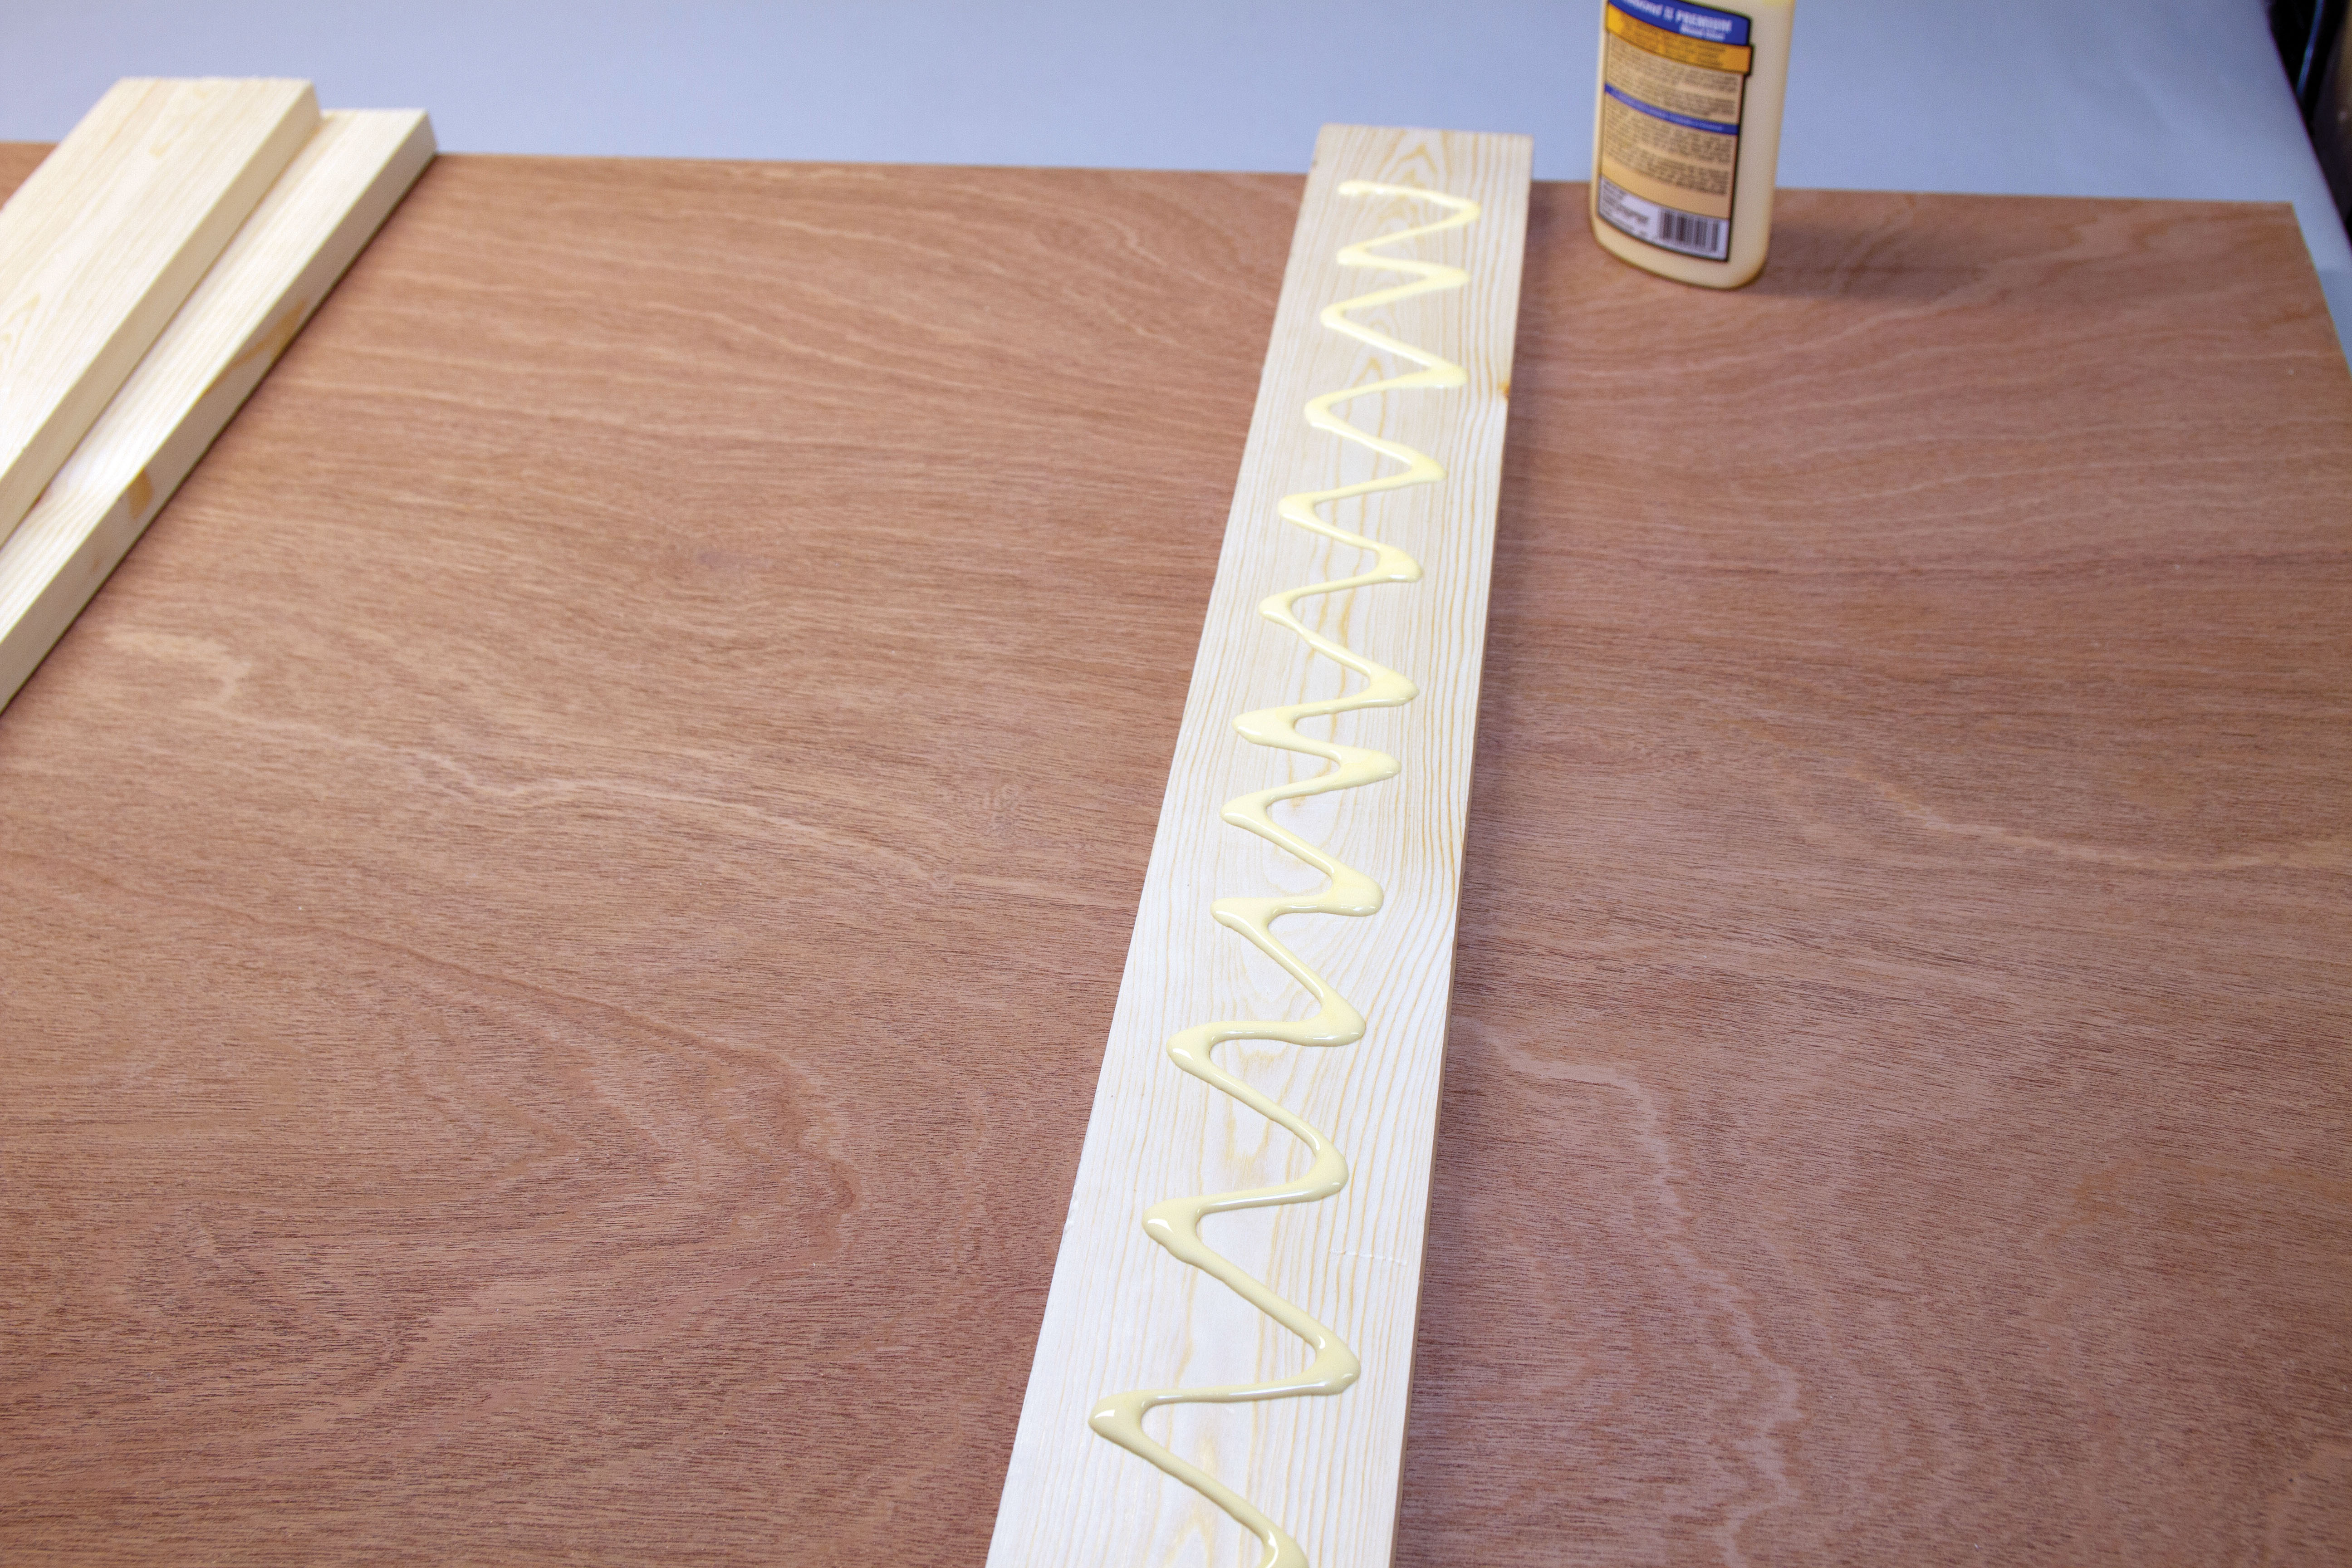
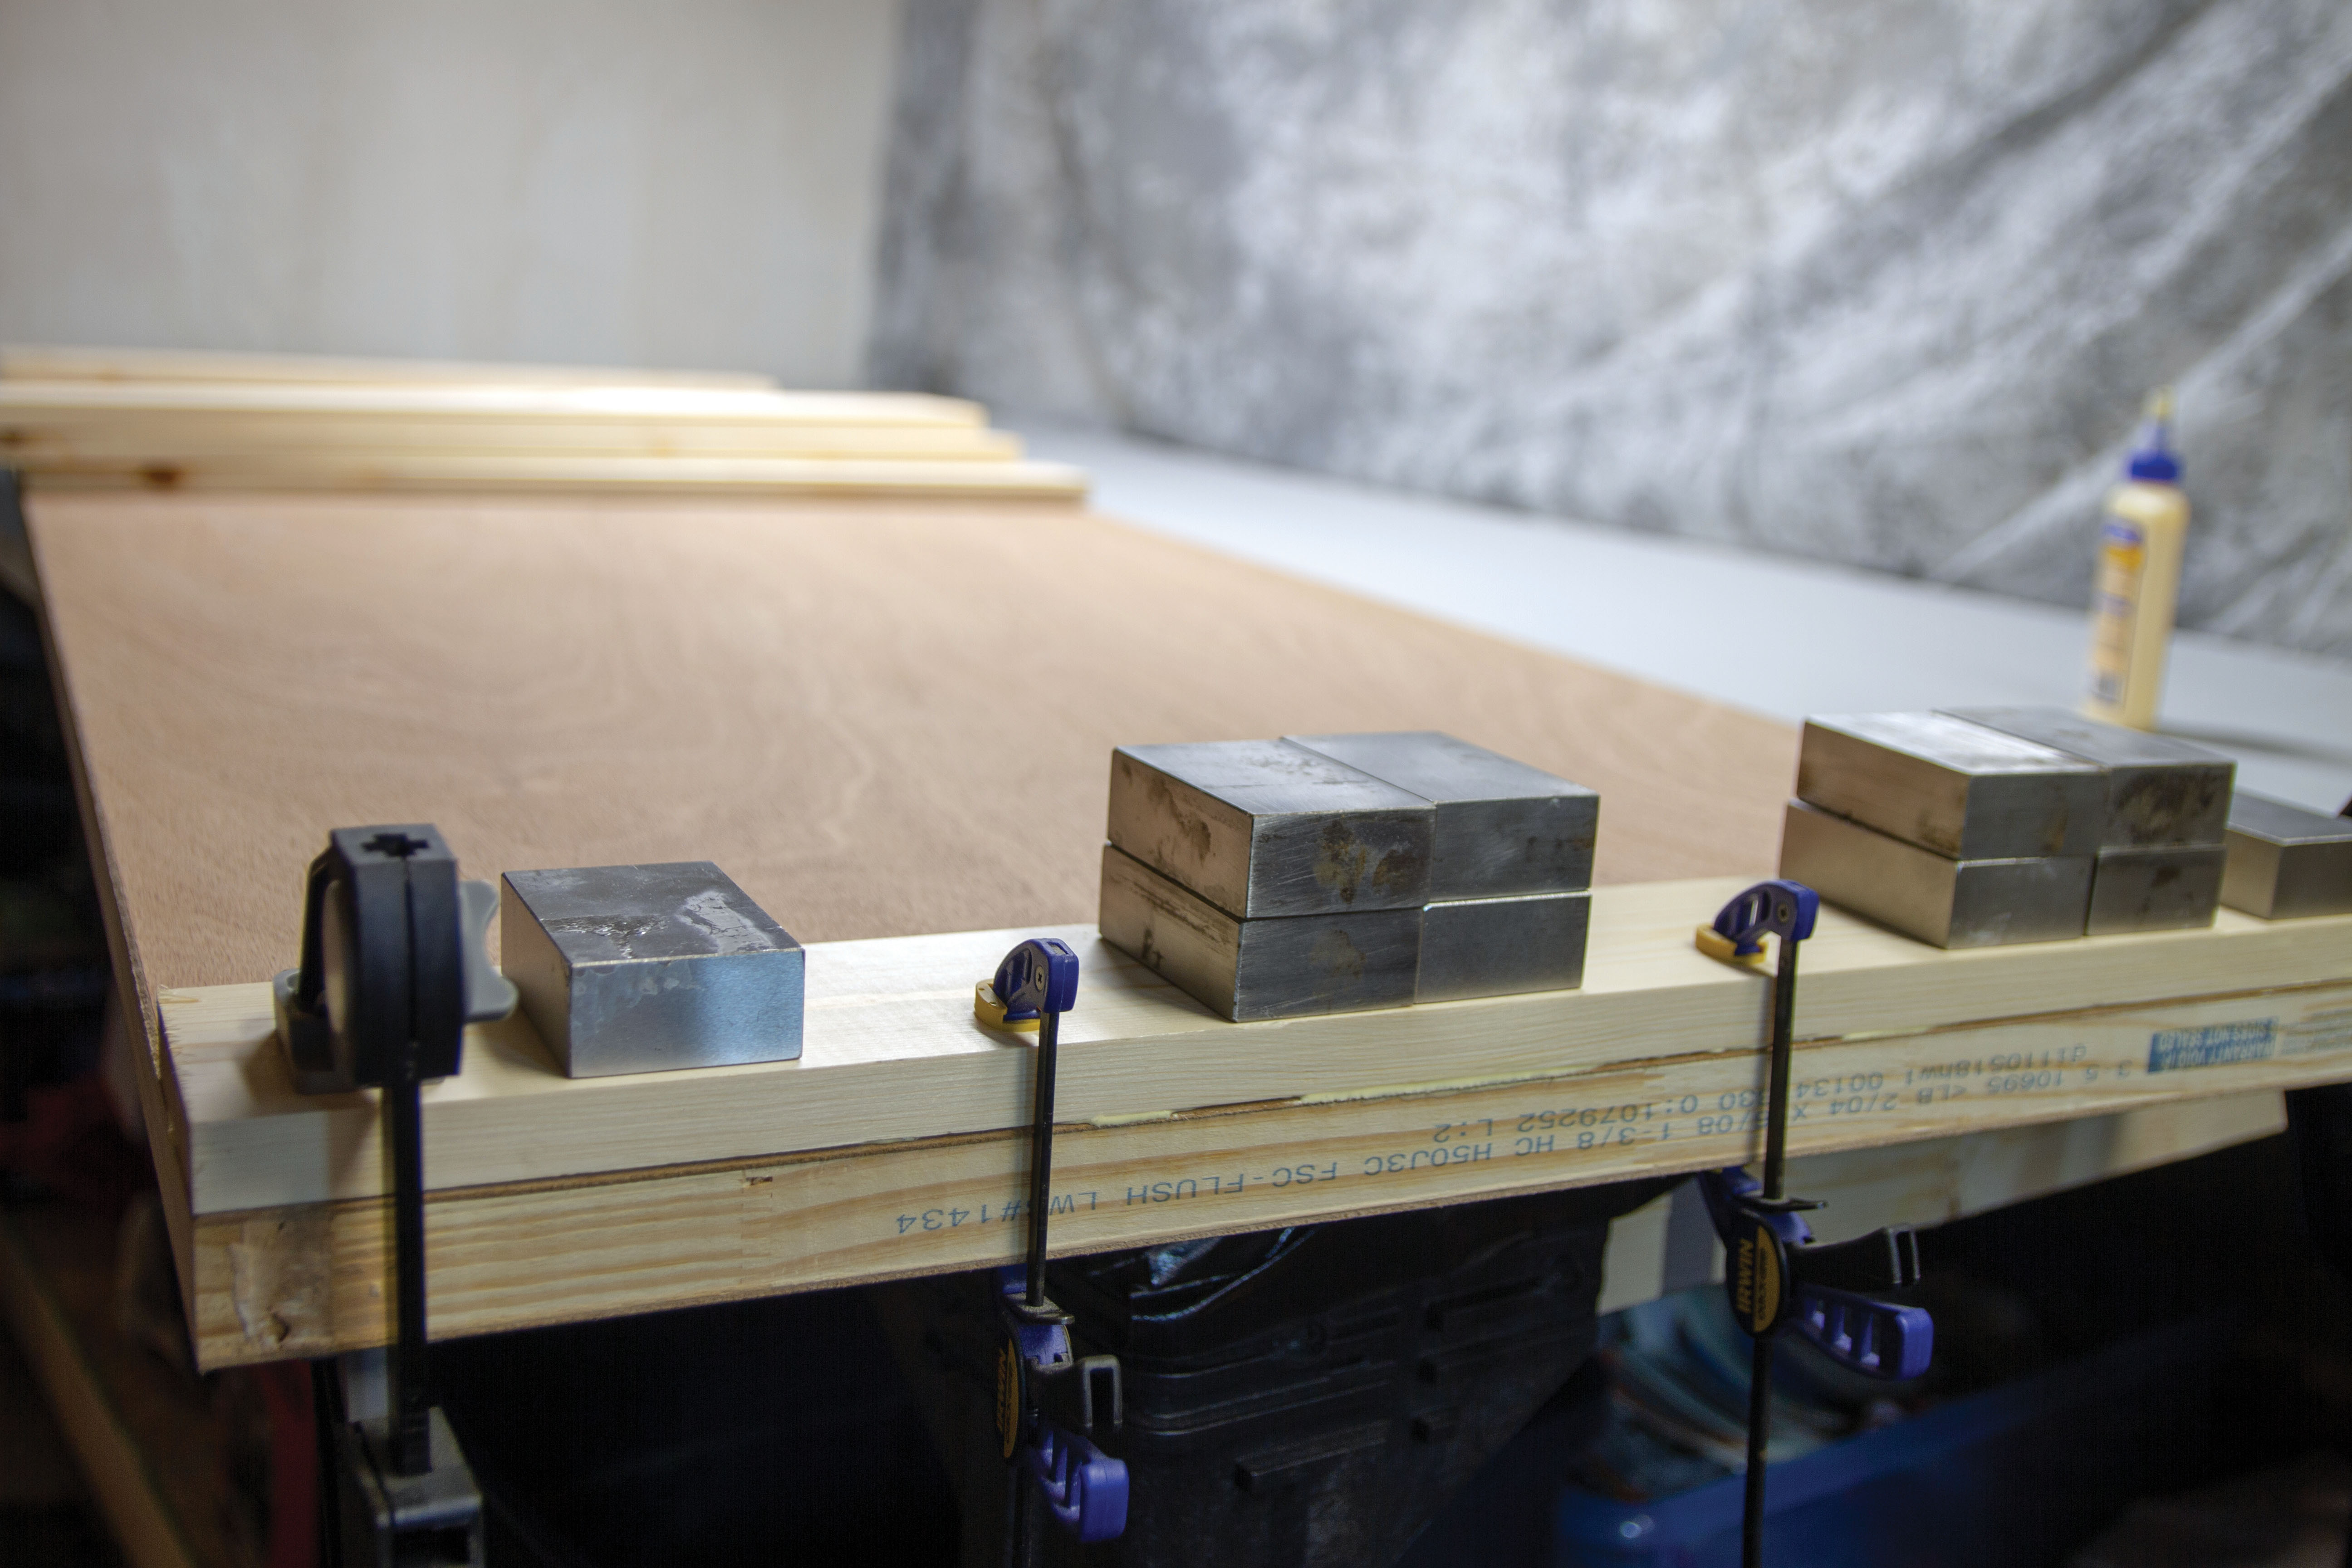
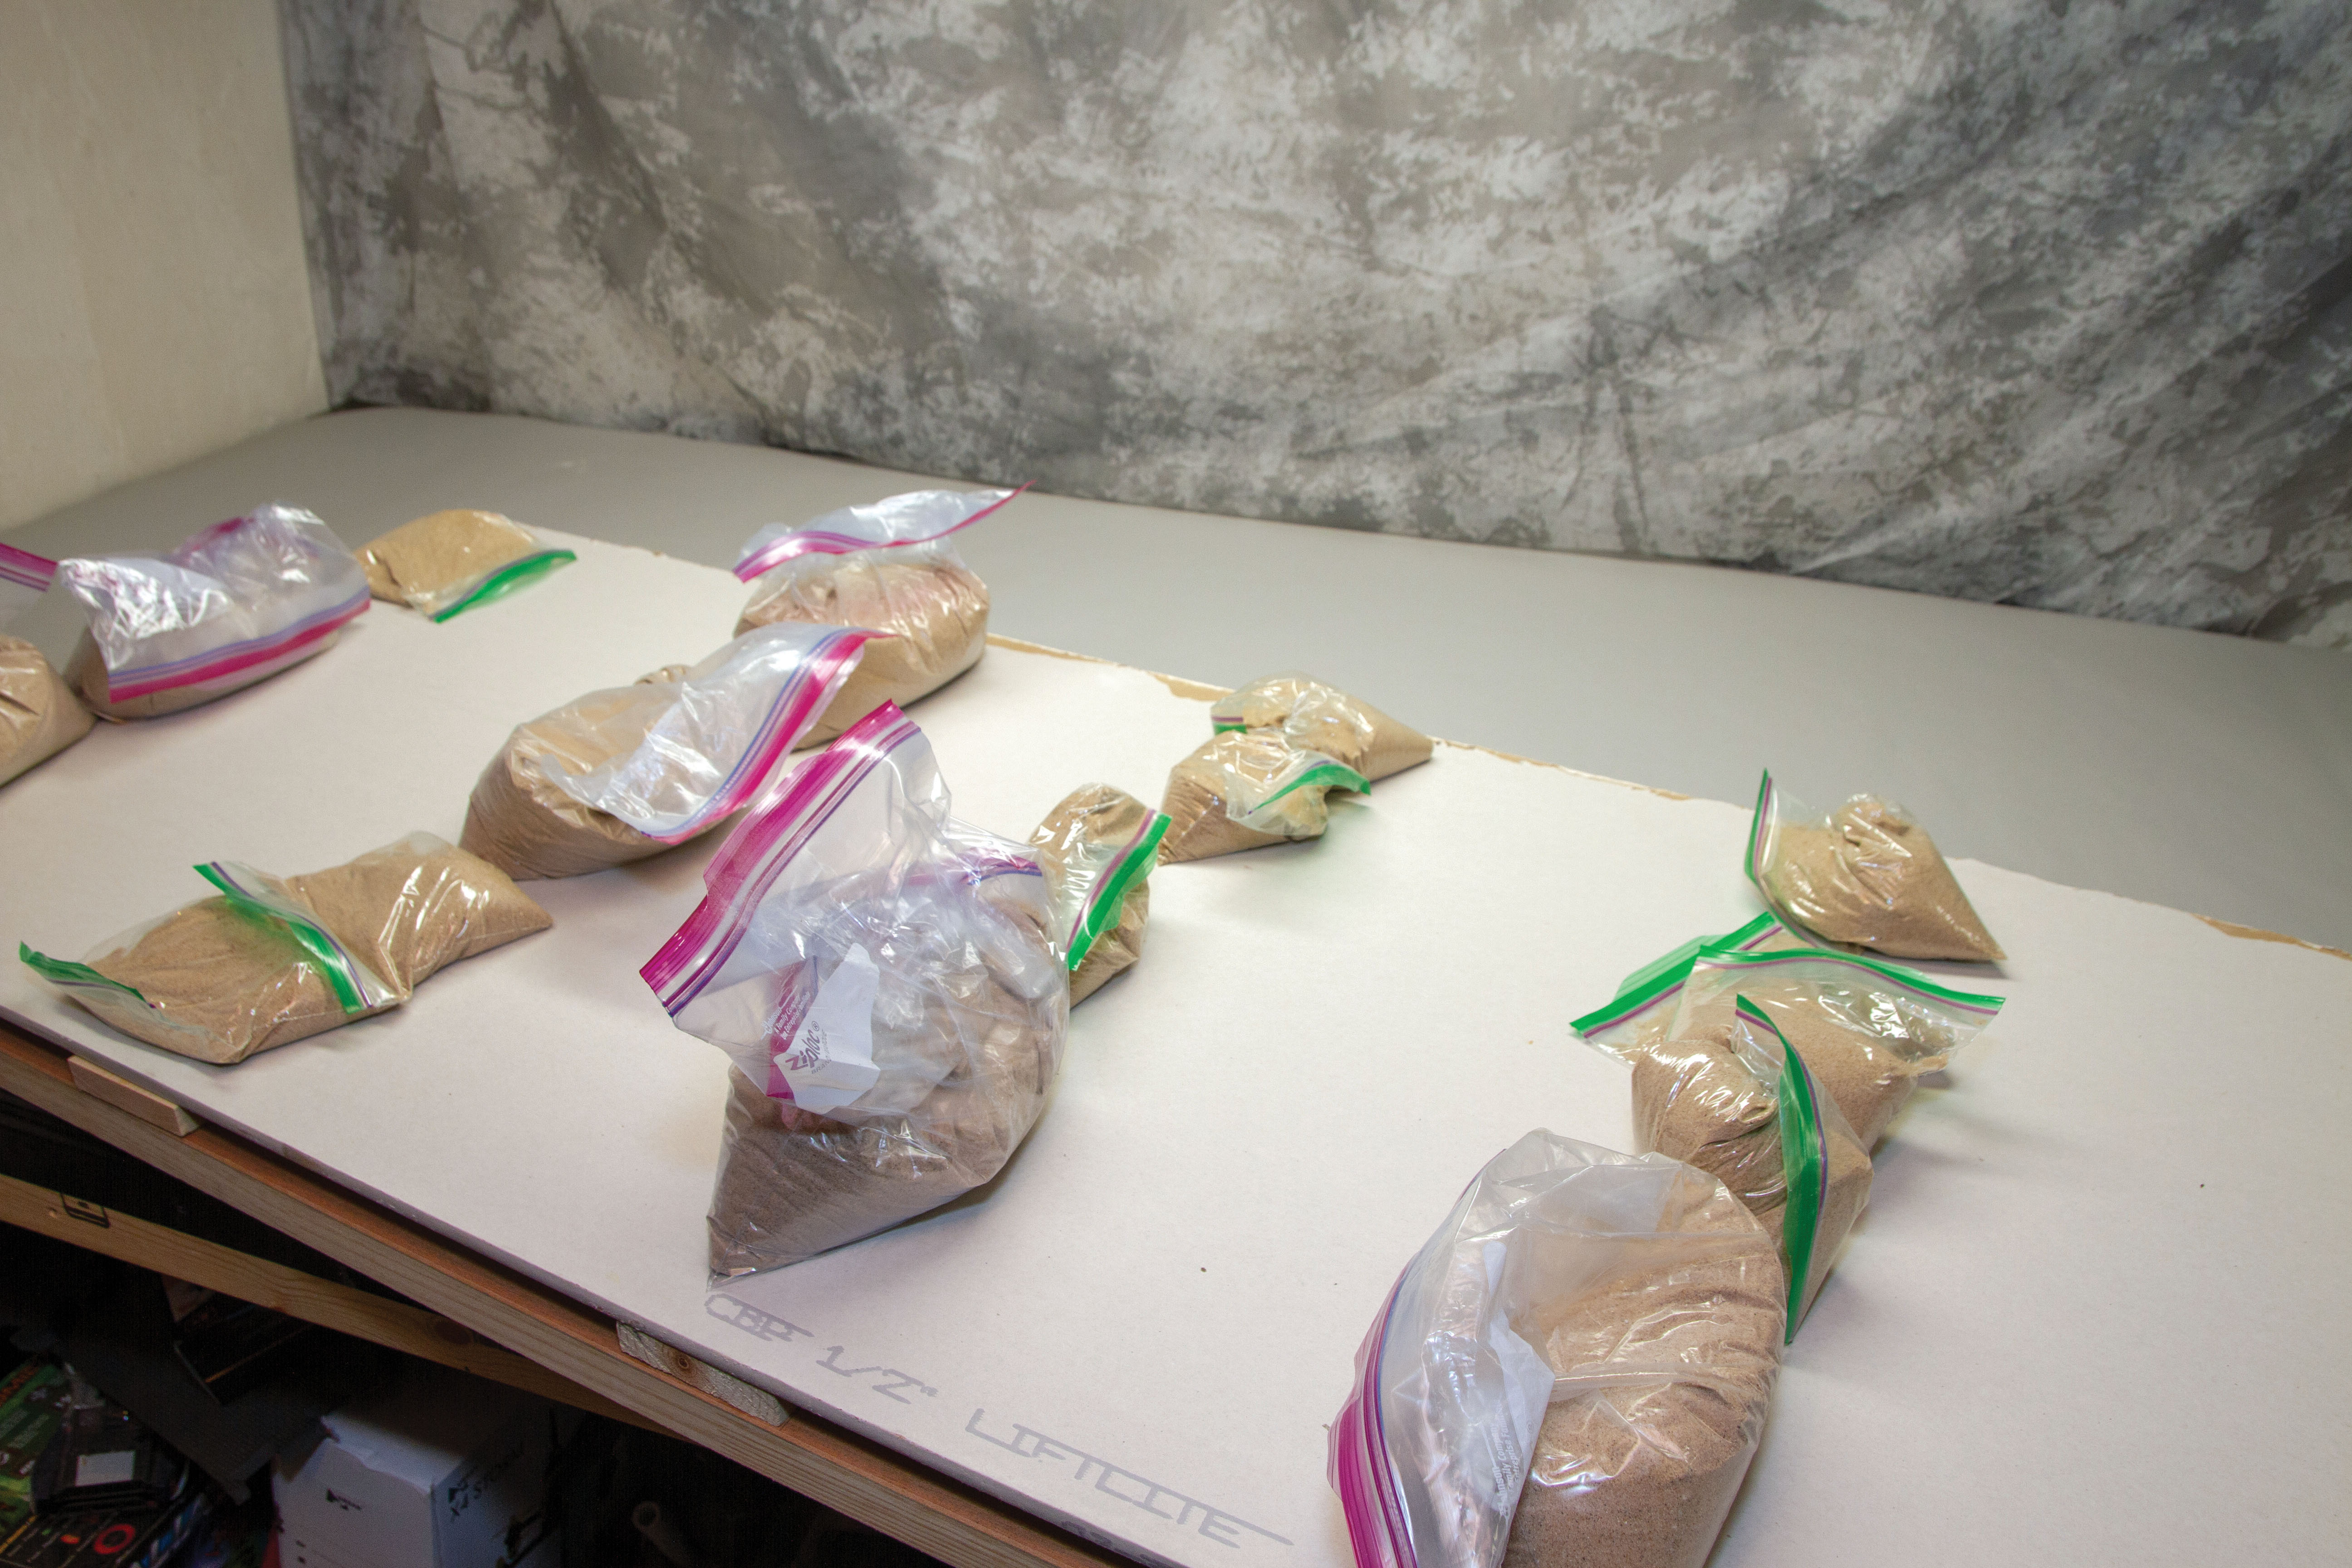
After you have all of your boards cut and set up the way you like, it’s time to glue them down with some regular wood glue. Spread the glue out evenly on the boards and place them using your reference lines. Clamp these in place and weigh them down against the door to make sure you don’t create any warping. I used some sandbags that I made from regular sandwich bags and play sand. Any weight you can find to distribute evenly across the boards works fine.
At this point, I leave it alone for 24 hours so that the glue has a chance to set properly. When the glue is set up and ready to go, the next step is to flip your door over and prepare to set your top surface.
Set the drywall in place. It’s critical to ensure that the surface is perfectly level. Use your metal straightedge to sight the top to ensure that it is level. Lay the straightedge on its side along the top of the build surface and look for any gaps between the straightedge and building surface.
Make sure to check the entire surface all the way across, as well as front to back. If any gaps are visible, you can shim these areas up until they are perfectly level. I had some old 1/32-inch sheeting that was getting too brittle to use for building, so I used that to shim the drywall. You can also use old magazine pages.
The key is to make sure that there are no visible gaps between the straightedge and the build surface. Any gaps you see will transfer right into your builds and that is not a good thing. Again, this is the most critical step of this entire project.
Now that you have your build surface set up, spray a little contact adhesive on the surfaces between the drywall and door panel. This is optional, but it will keep the drywall on your door as you start building. Don’t go crazy with too much glue because at some point, several builds down the road, the drywall will need to be replaced because you have too many pinholes in it.
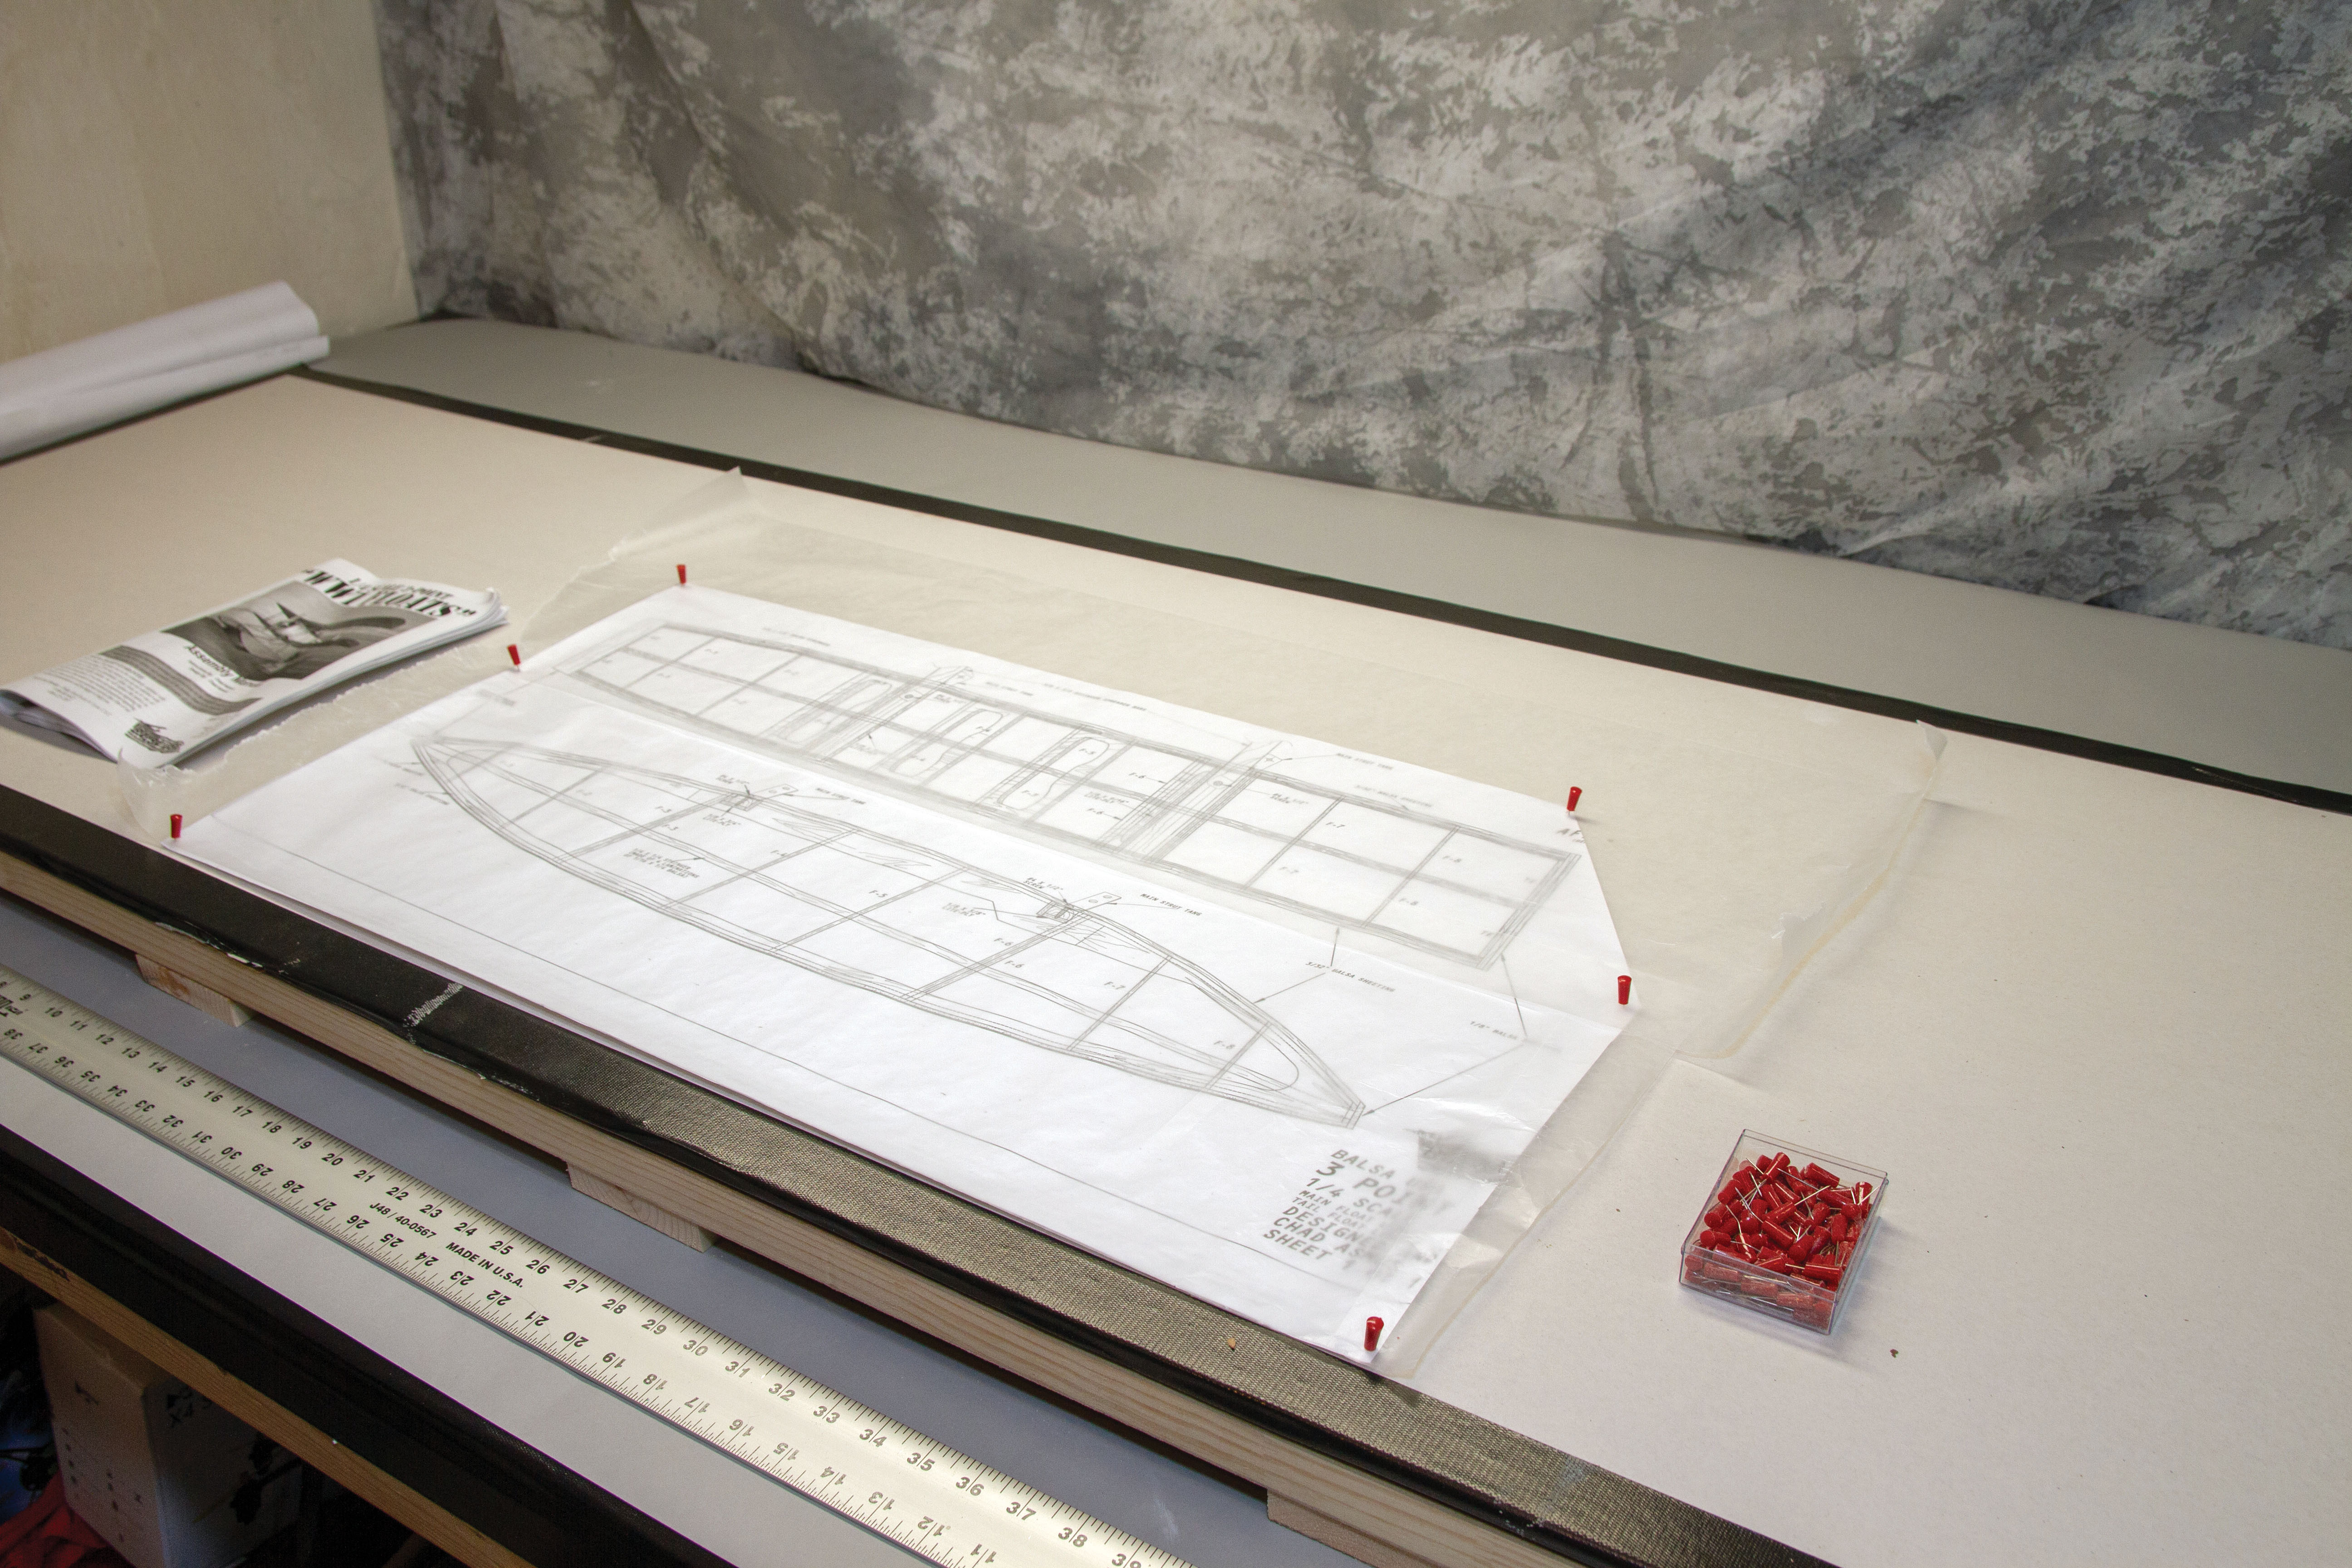
That’s it! Your build surface is ready for its first project! This simple, inexpensive surface will give you many years of enjoyment in your shop, knowing that your projects will be built square with zero warping.
Enjoy and happy building!
This Month's Issue

Join the AMA
![]()


6 comments
Drywall
second table
An alternative to drywall
Work bench
Great Ideas!
My hollow core closet door
Add new comment